
Stripped HPOP bolts? Read this before you order a new front cover...
Oct 16th 2025
Removing and reinstalling the HPOP on the 7.3L Powerstroke can cause headaches for many. The mounting bolts are threaded into the aluminum front cover, and well, the threads aren’t exactly the strongest. Long story short, they strip out easily when over-torqued, or just simply due to wear and tear. The correct fix comes in two ways: with a whole new front cover necessitating removal of the engine from the truck, or with a simple 2-hour fix that not only replaces the threads but also substantially improves their strength.
Let’s focus on the easier and stronger fix. Enter the Riffraff Diesel EZ-LOK HPOP Bolt Insert Kit. It’s not only a fix for damaged threads, many use this kit even when their existing threads are fine to reuse. This kit adds strength and peace of mind that you won’t have HPOP mounting issues in the future. The installation involves first removing your HPOP (if not already done); then drilling out the existing threads to make room for a steel threaded insert. This insert will become your new threads to mount the HPOP with. And since it reuses the factory HPOP bolts, there’s no special hardware needed, making future maintenance a breeze (especially when done by an unfamiliar technician).
For this article, we’ll be using a spare front cover in order to get you better images of the process. Where necessary, we’ll point out tips and tricks when doing this with the cover installed on the engine. The process listed here won’t be any different than when installed in the truck. Let’s get started on the install.
Parts Needed:
Tools Needed:
Right Angle (90°) Drill
Large Flat-Head Screwdriver
Ratcheting Tap Handle, or 9mm Socket and Ratchet (for the tap set, more on this in a bit)
Tap oil
Compressed air or other method of cleaning out the drilled/tapped holes
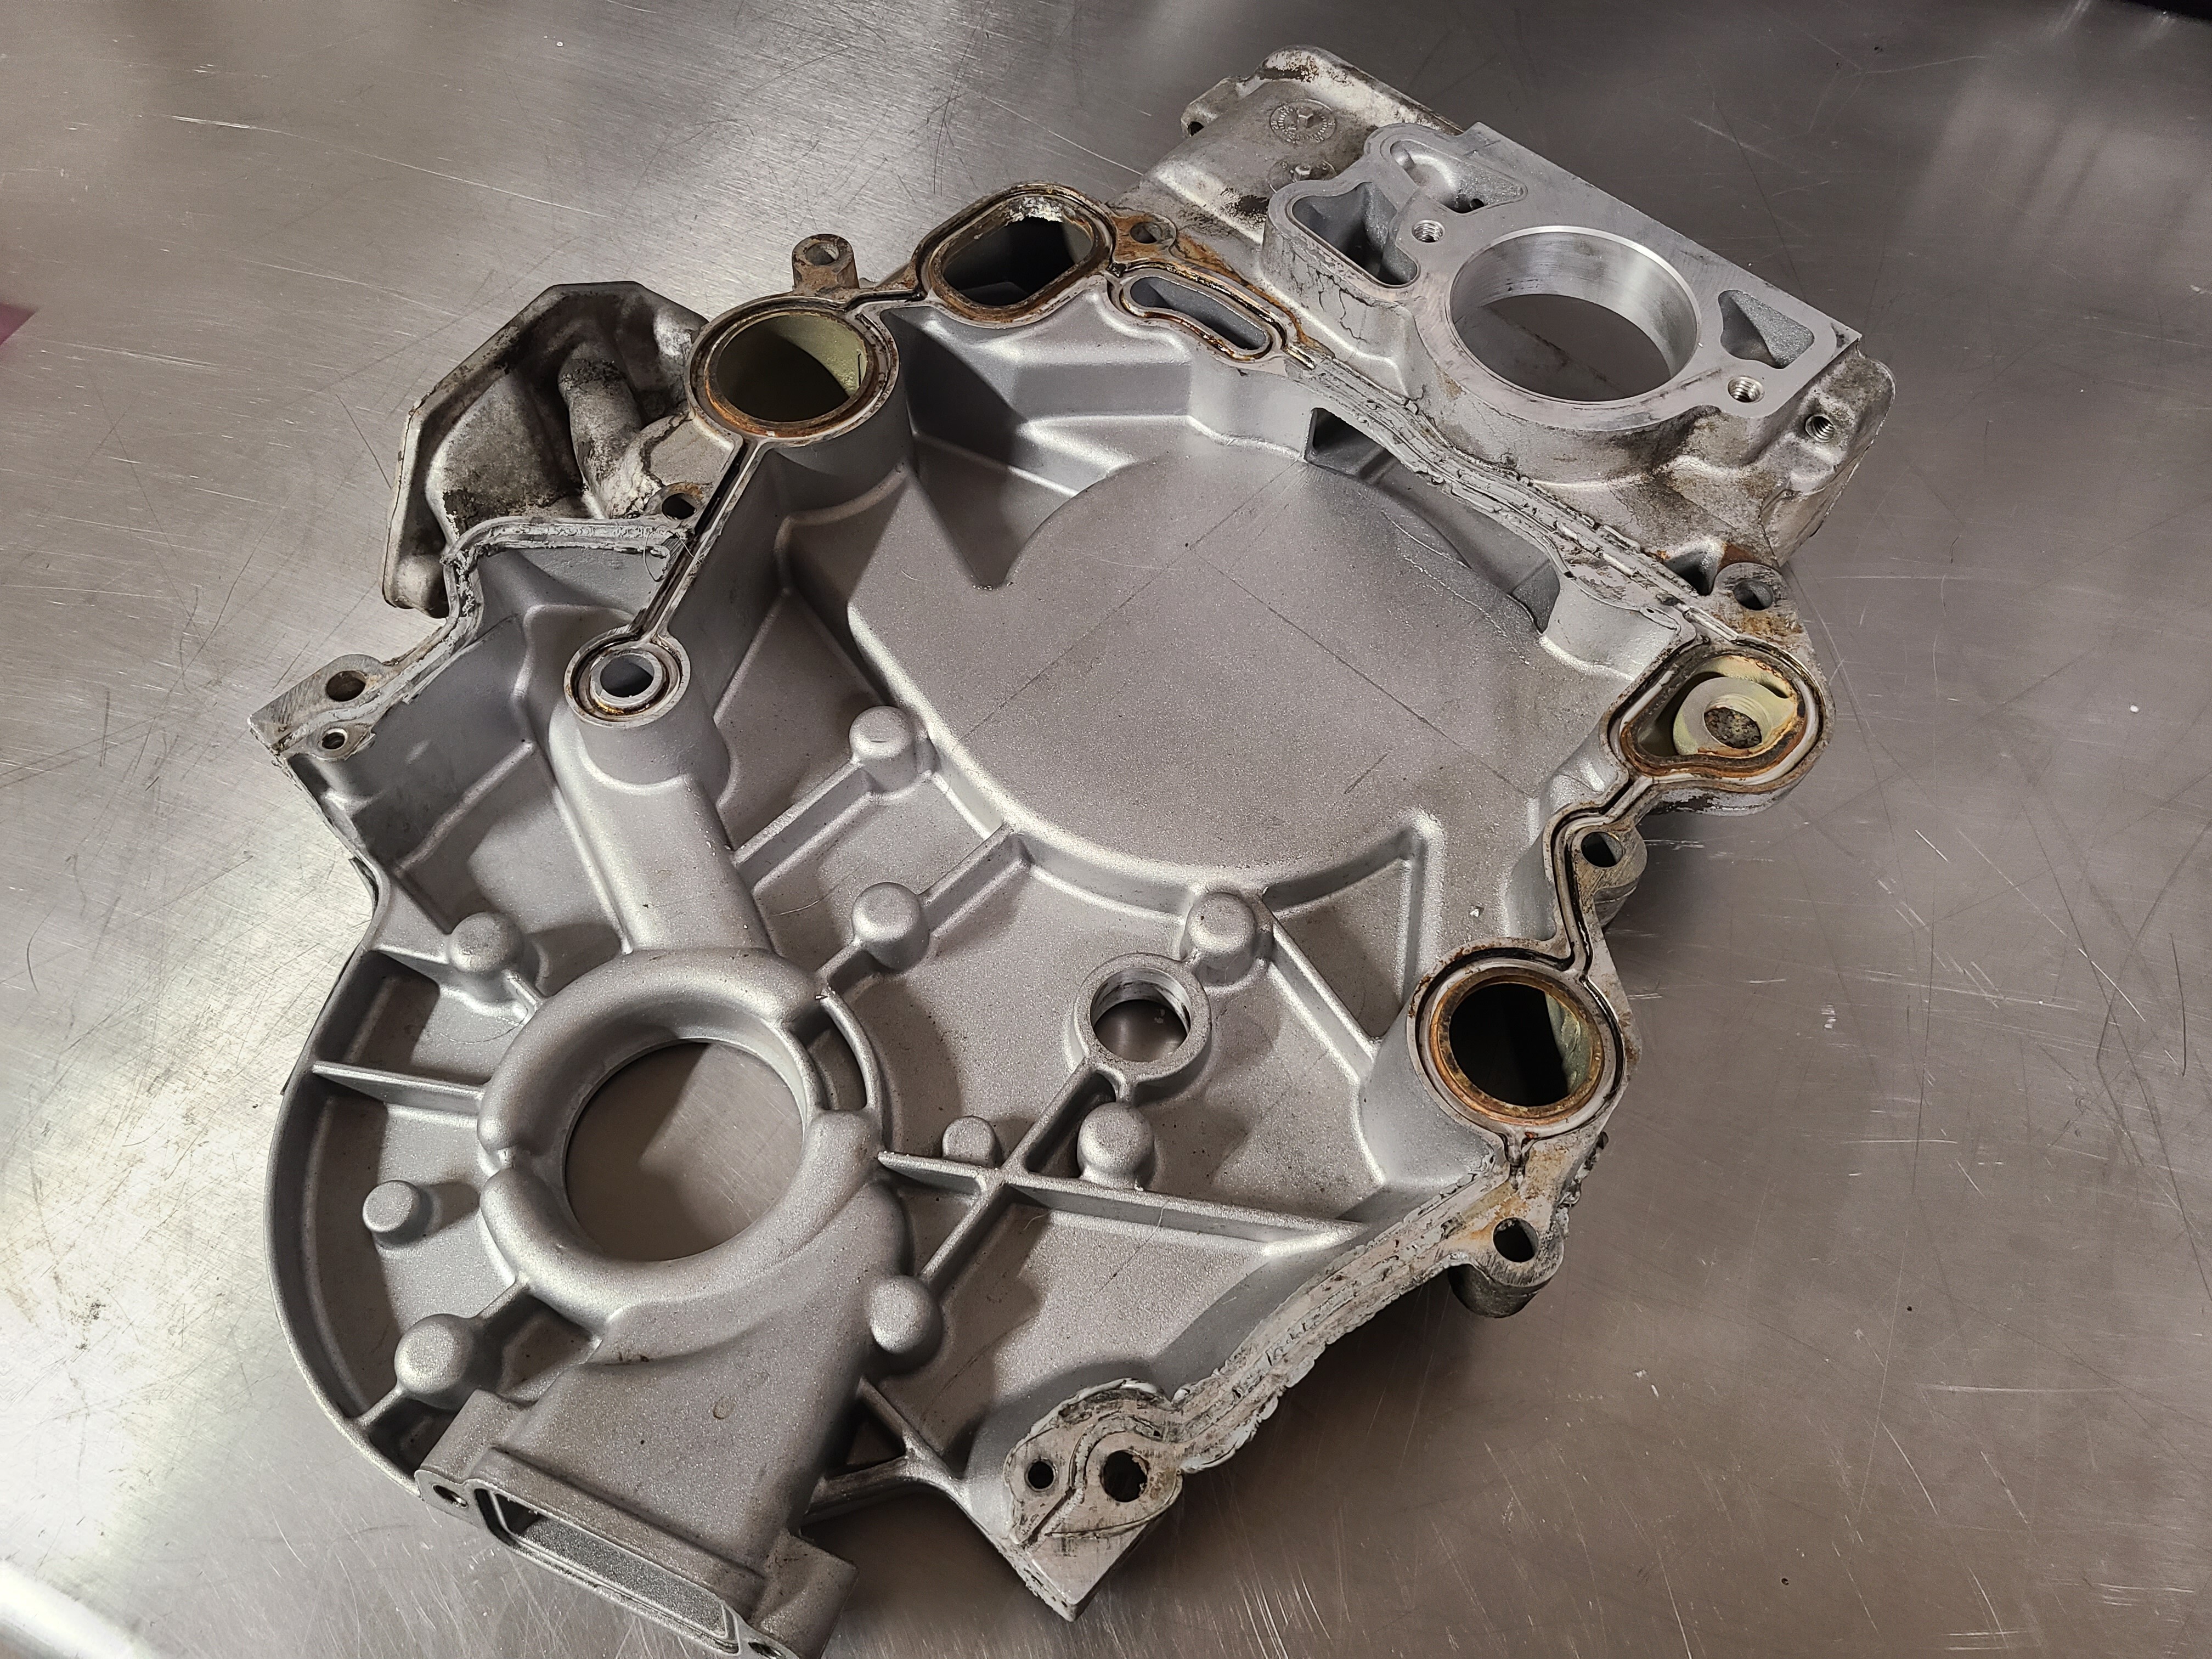
1. Removal of the fuel bowl and other parts will be needed to access the HPOP. We’ll assume the HPOP has already been removed for this article.
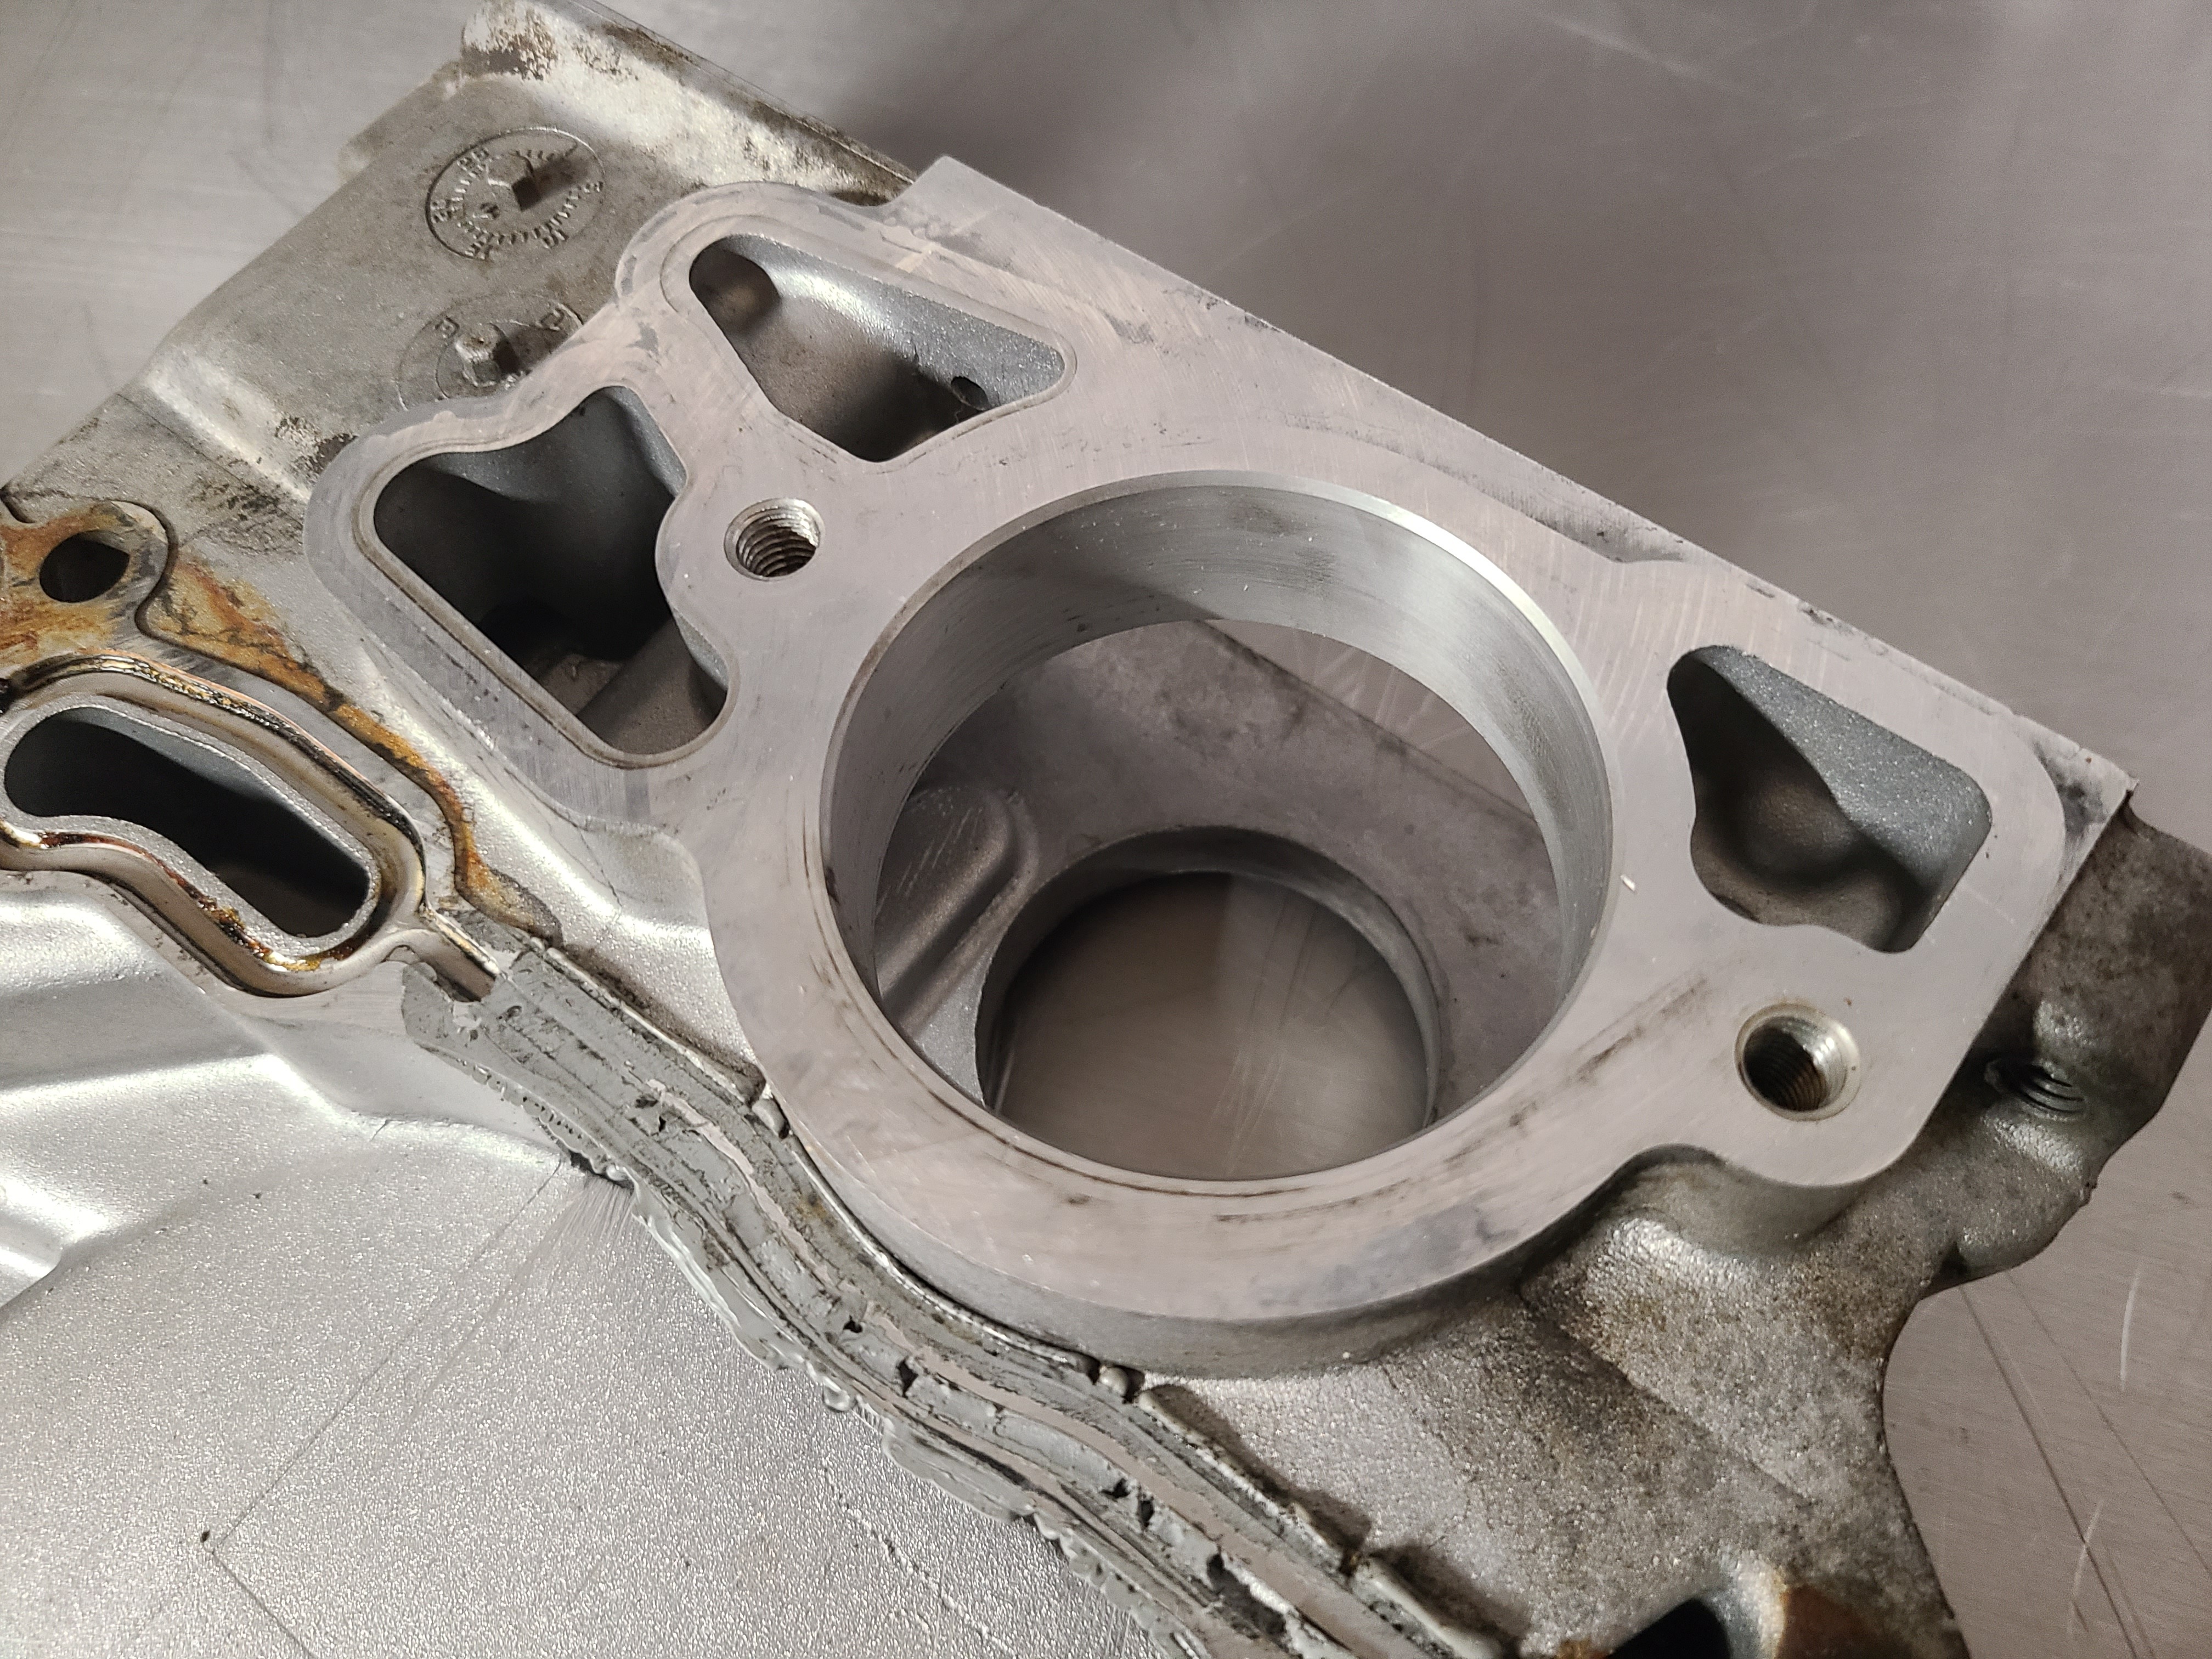
2. With the HPOP removed, first make sure the area around it is clean and clear of any debris (however, this should be done prior to removing the HPOP).
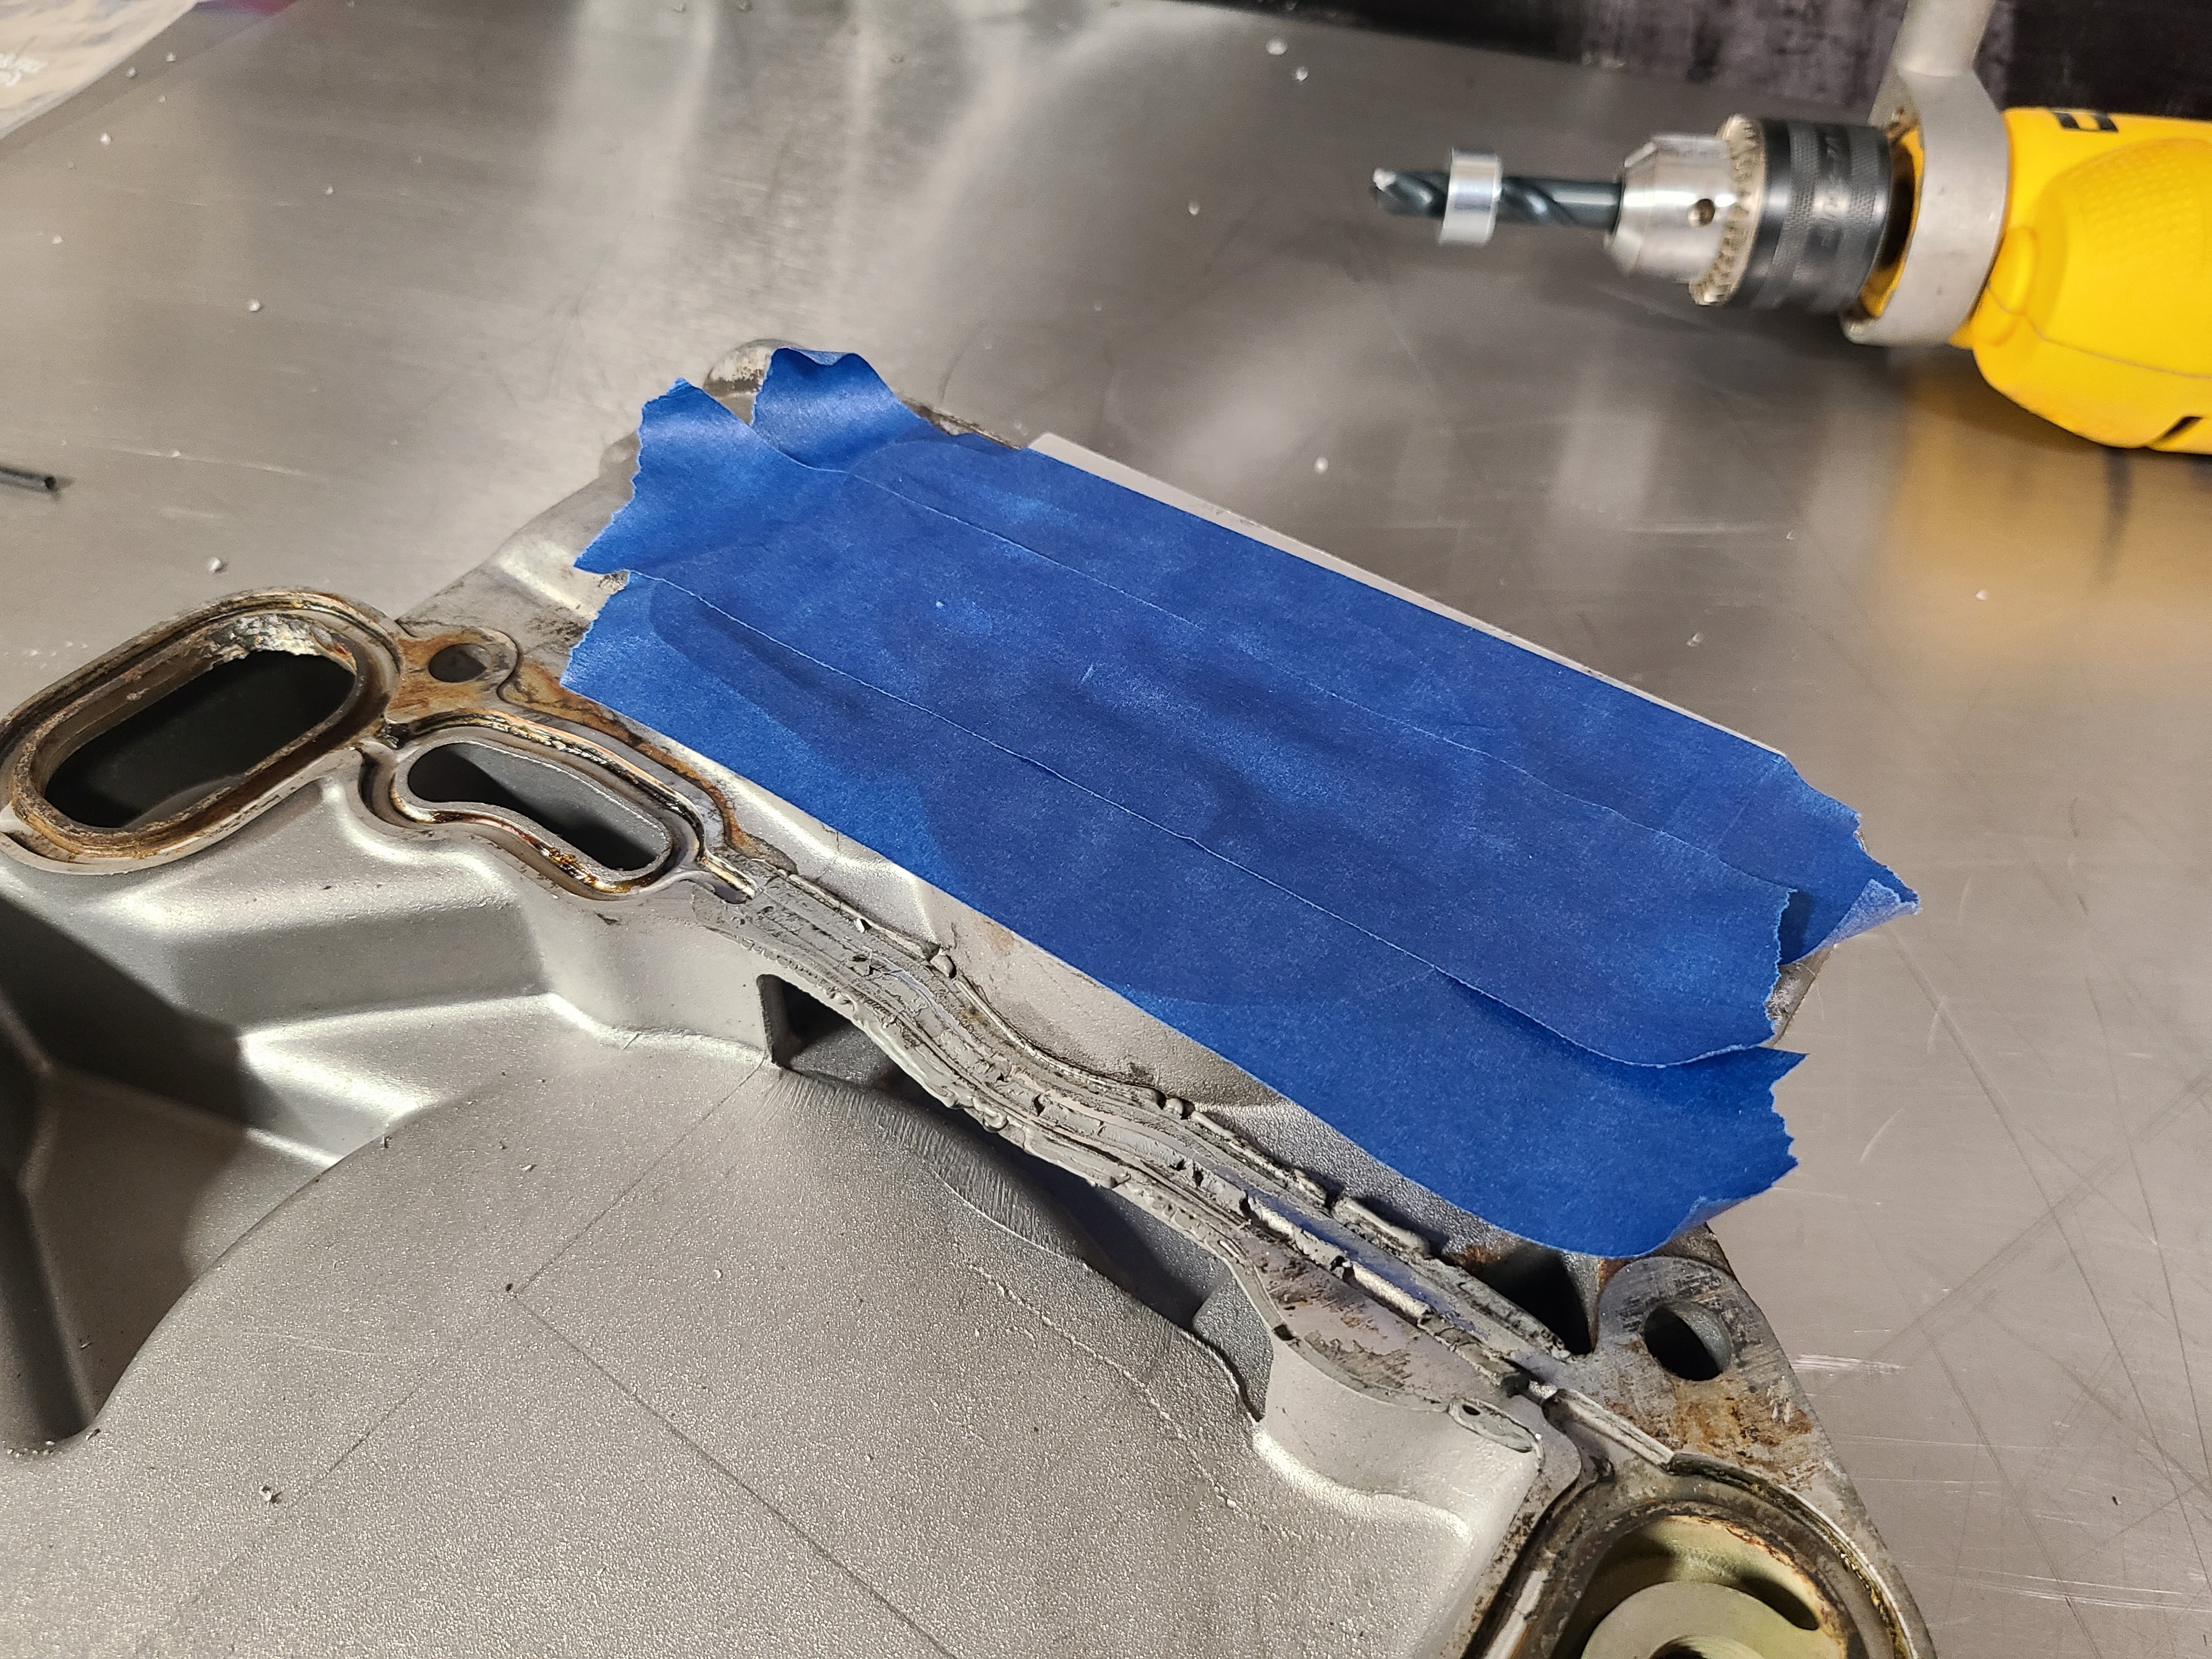
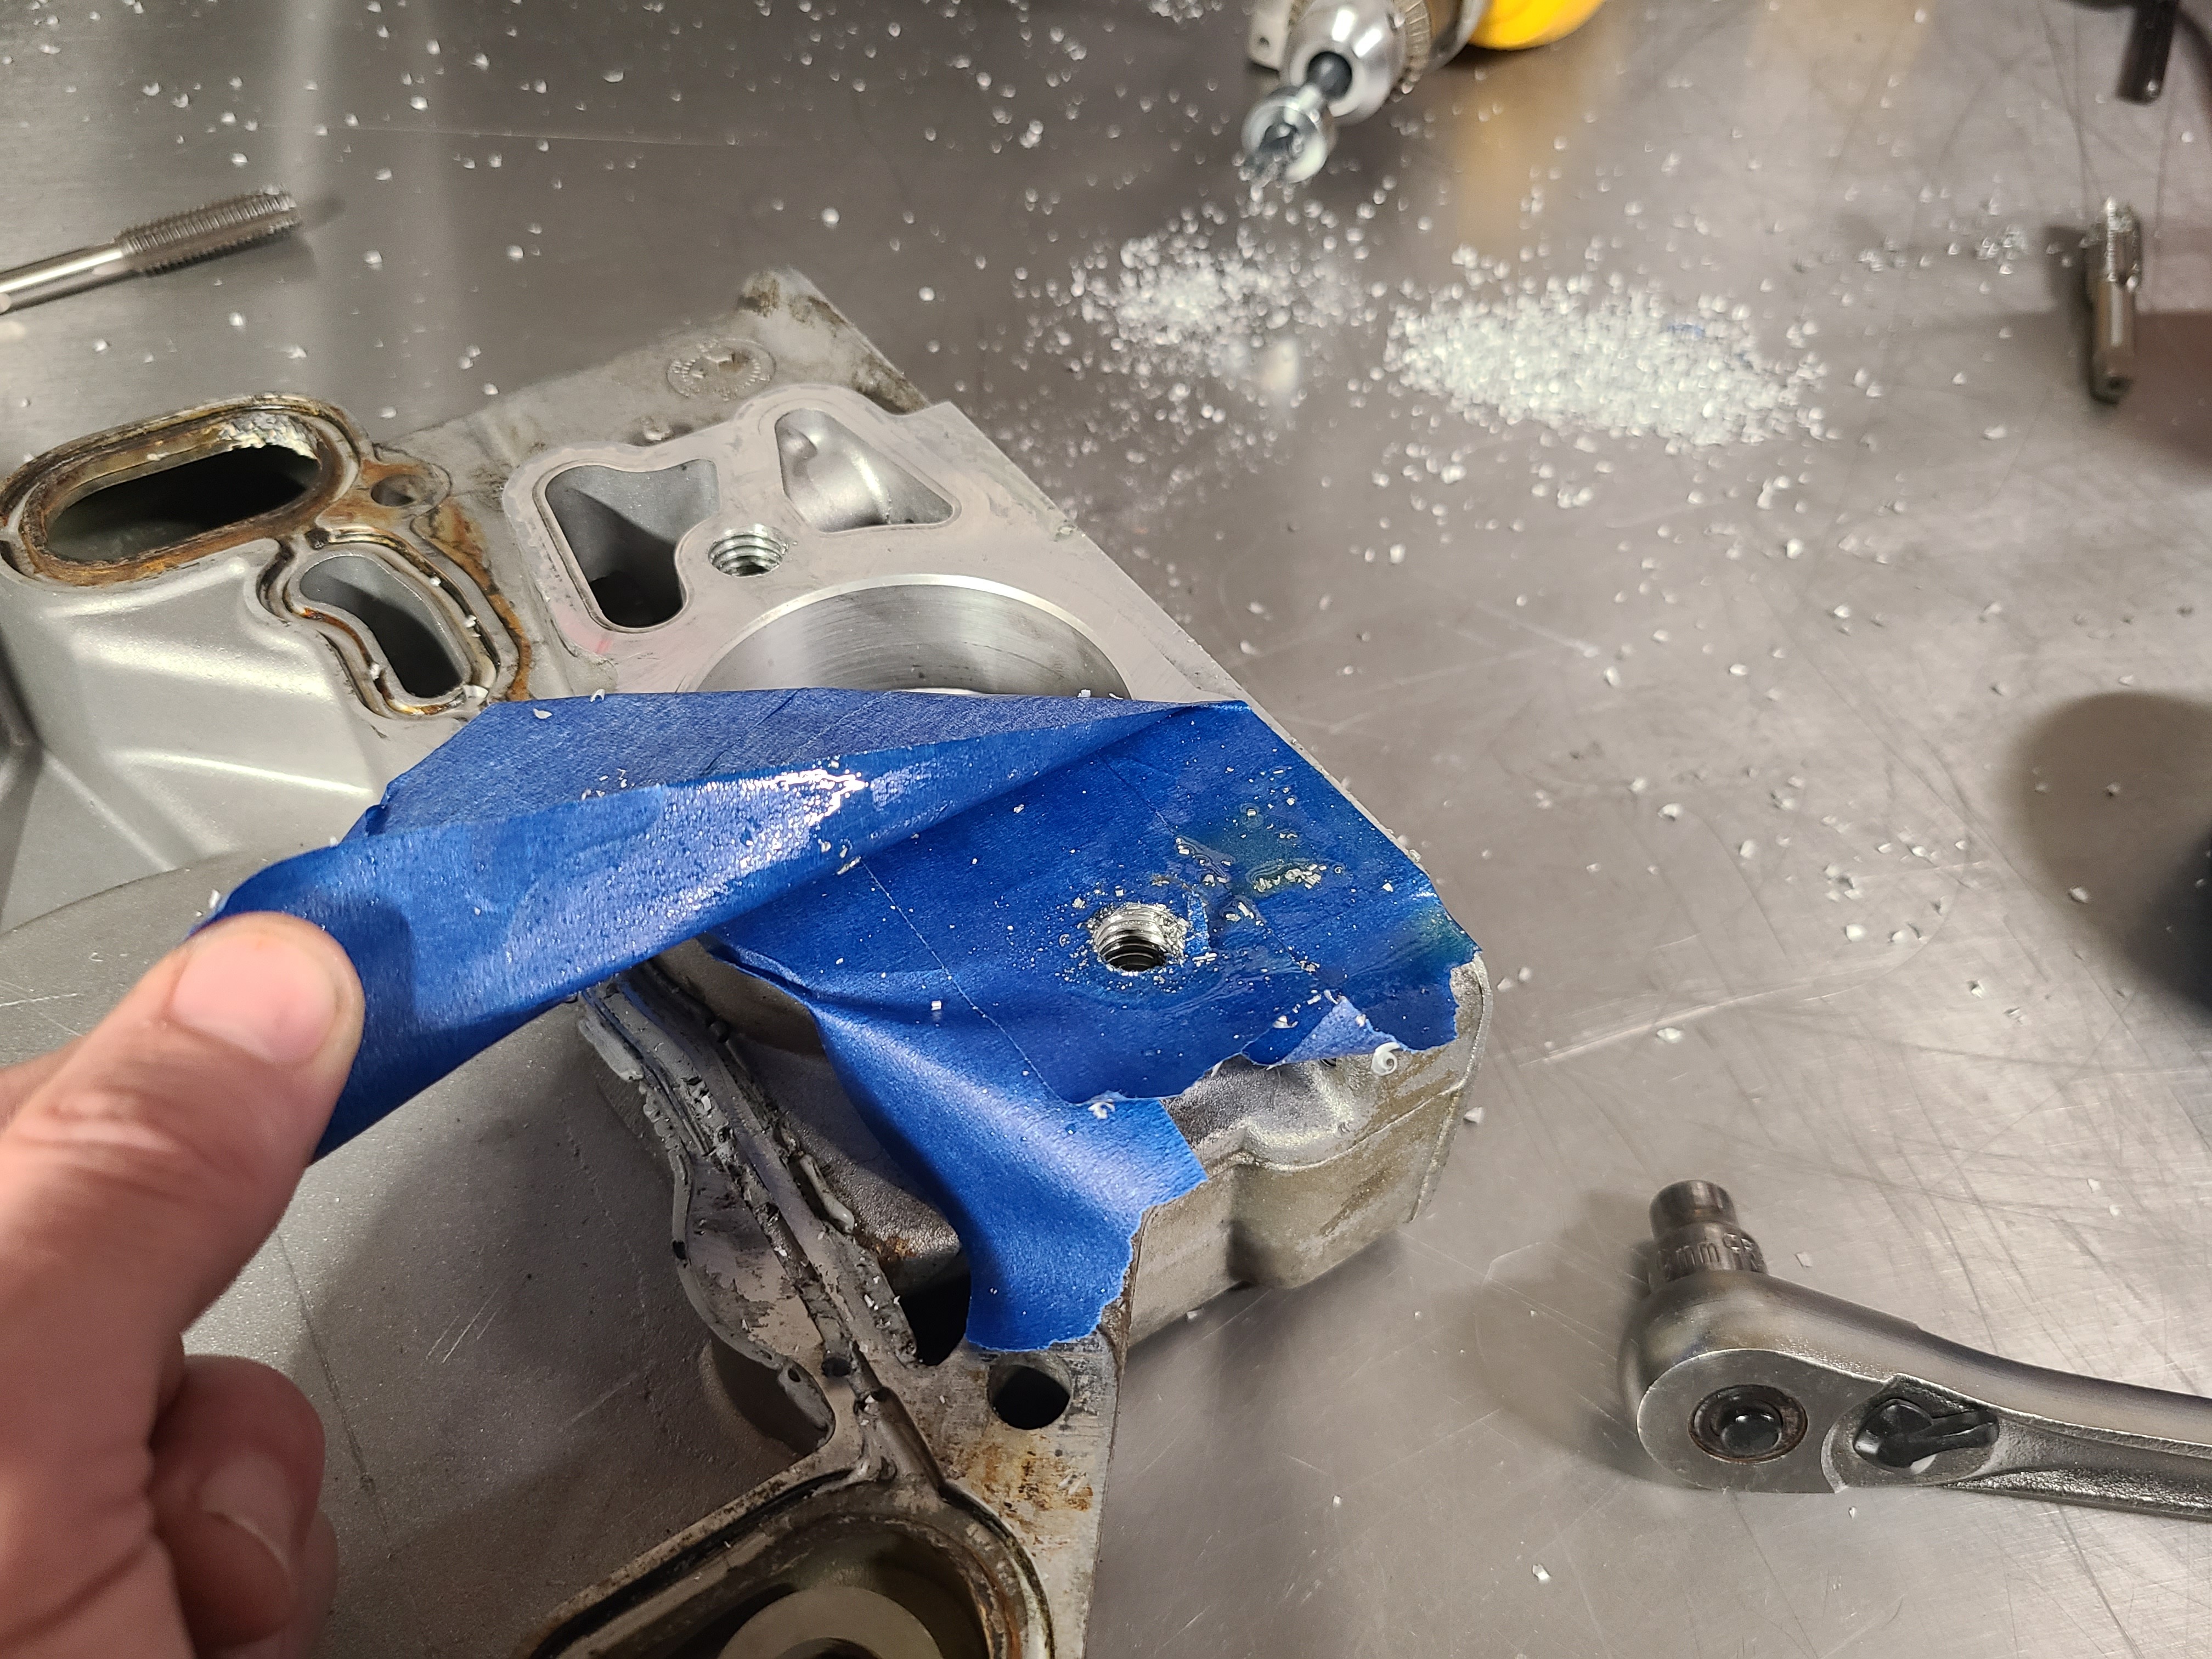
3. Tape off and/or place rags in the holes where the HPOP mounts to stop any metal shavings from getting where they shouldn’t. We recommend using both tape and rags.
NOTE: There’s no need to cut/remove the tape around the holes we’ll be drilling out next. The drill bit will take care of that for us. Just make sure the tape doesn't interfere with the tap, when tapping the holes.
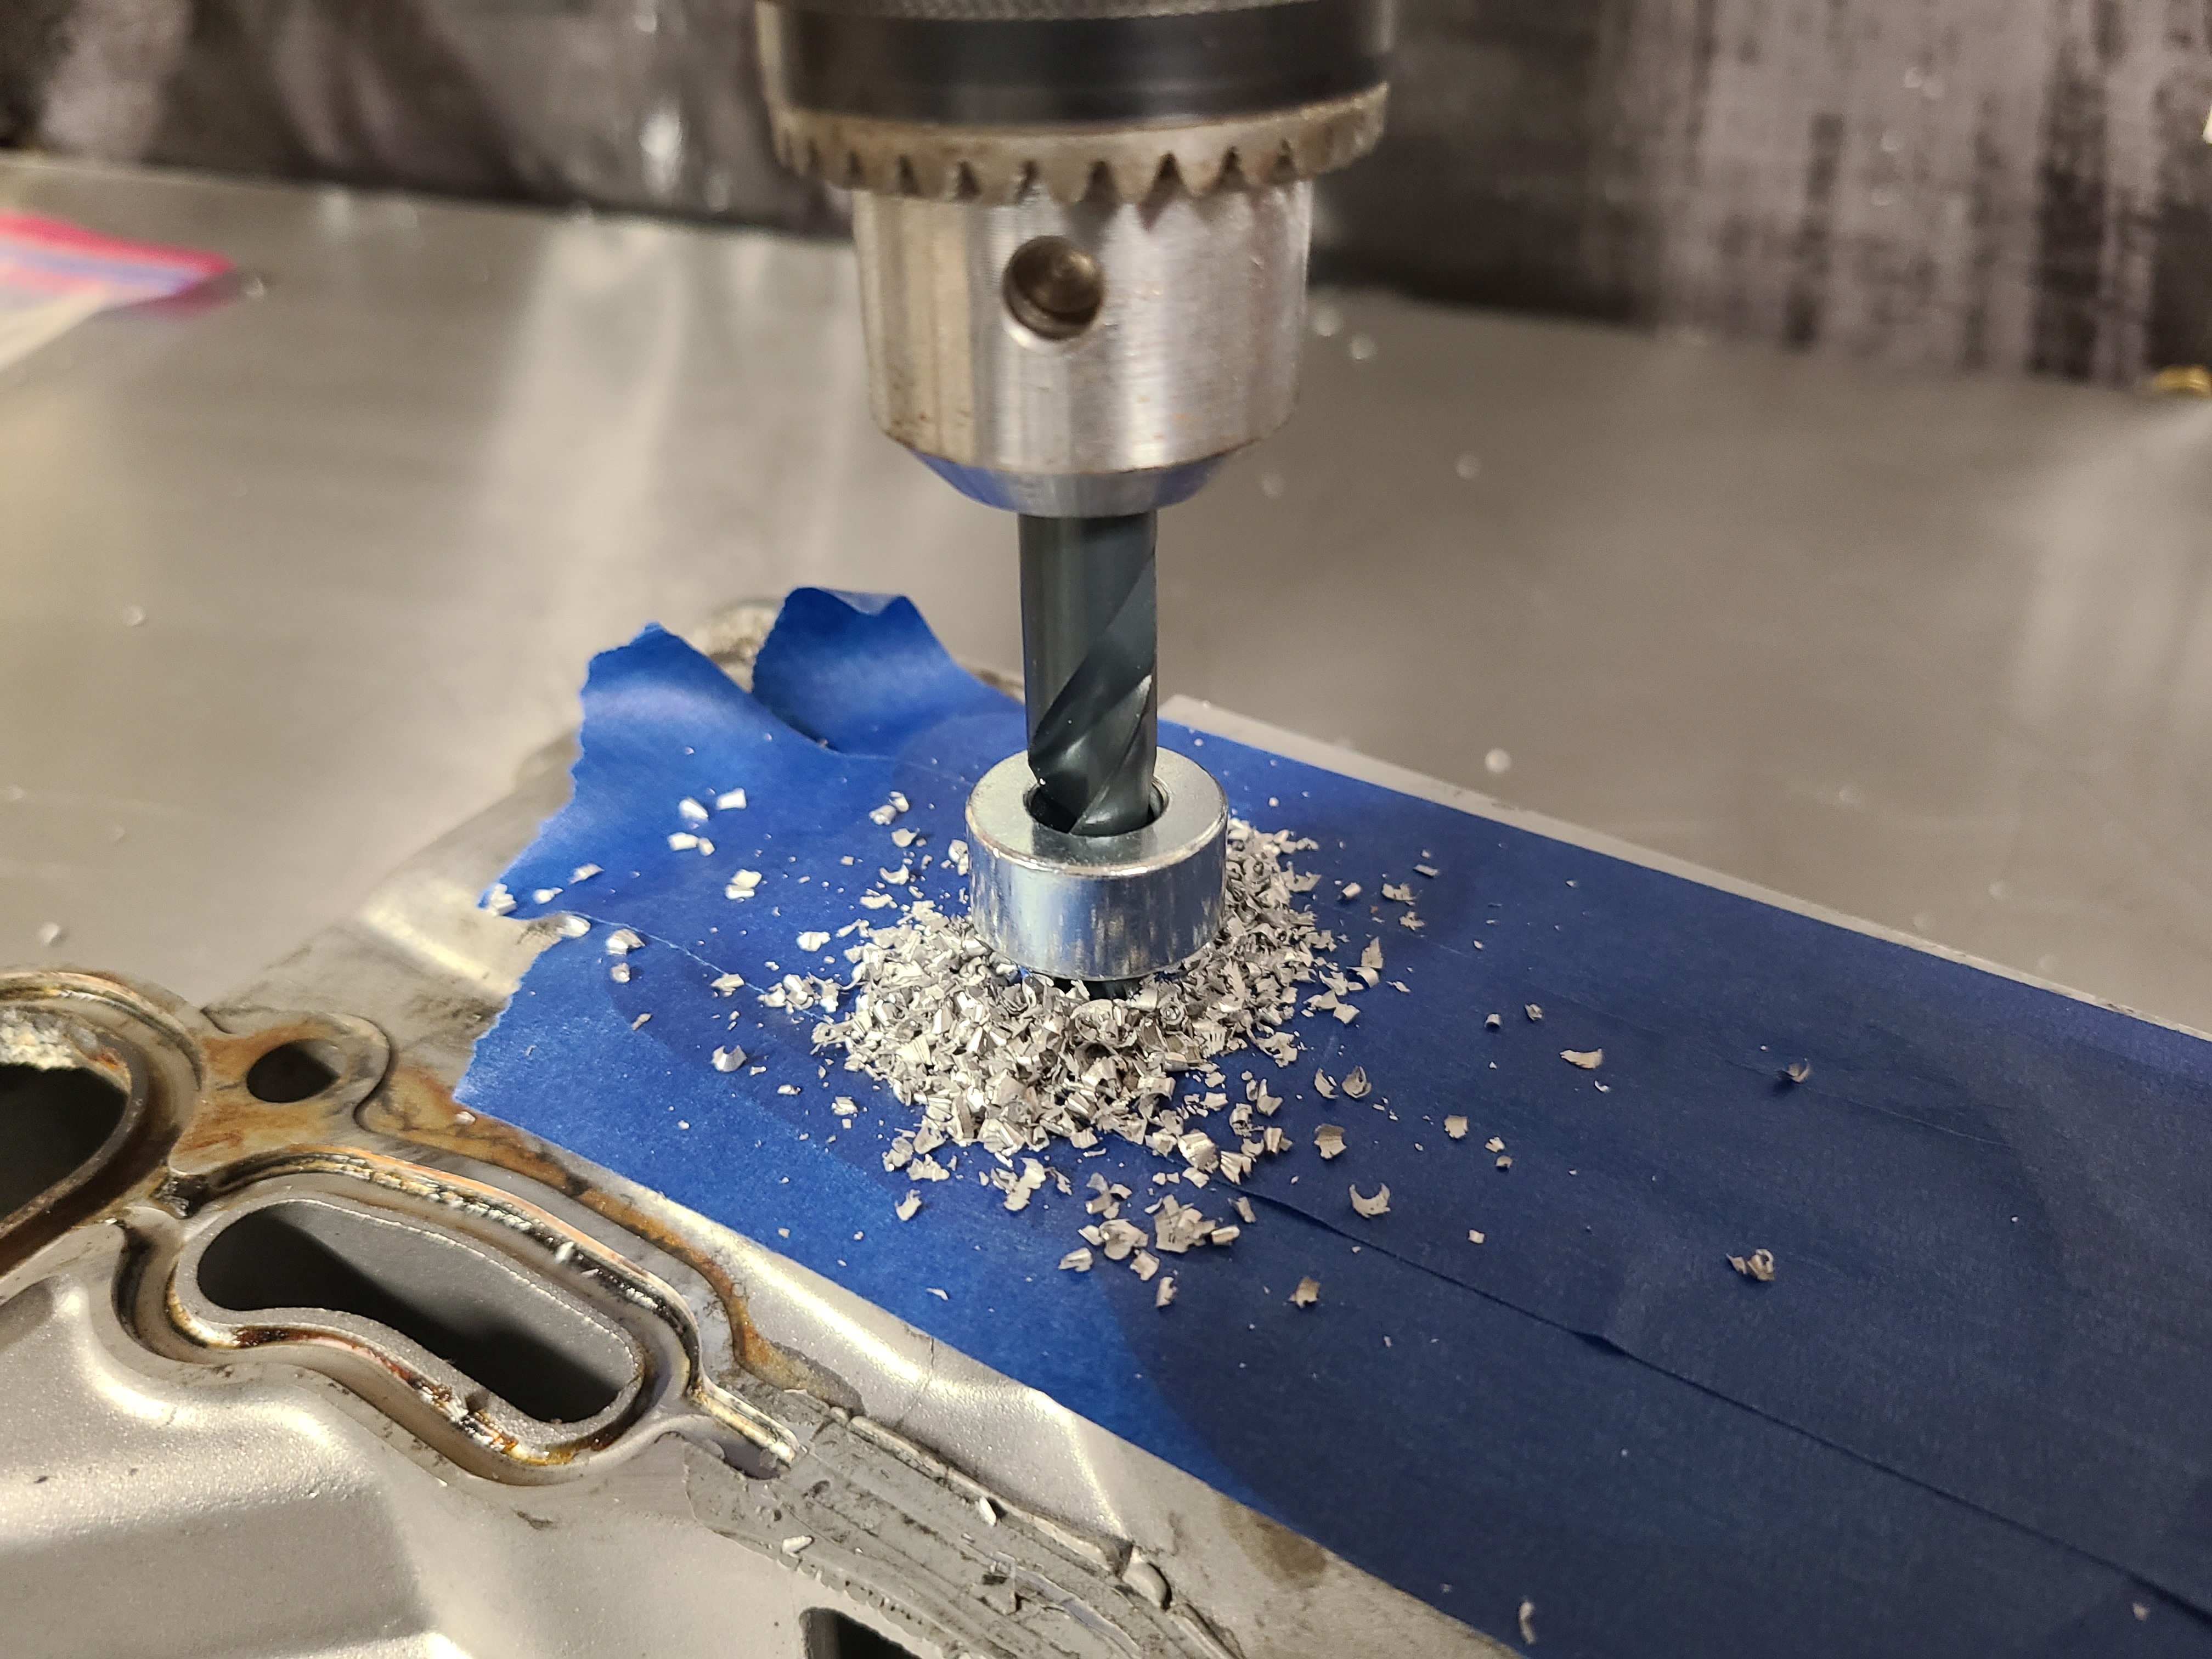
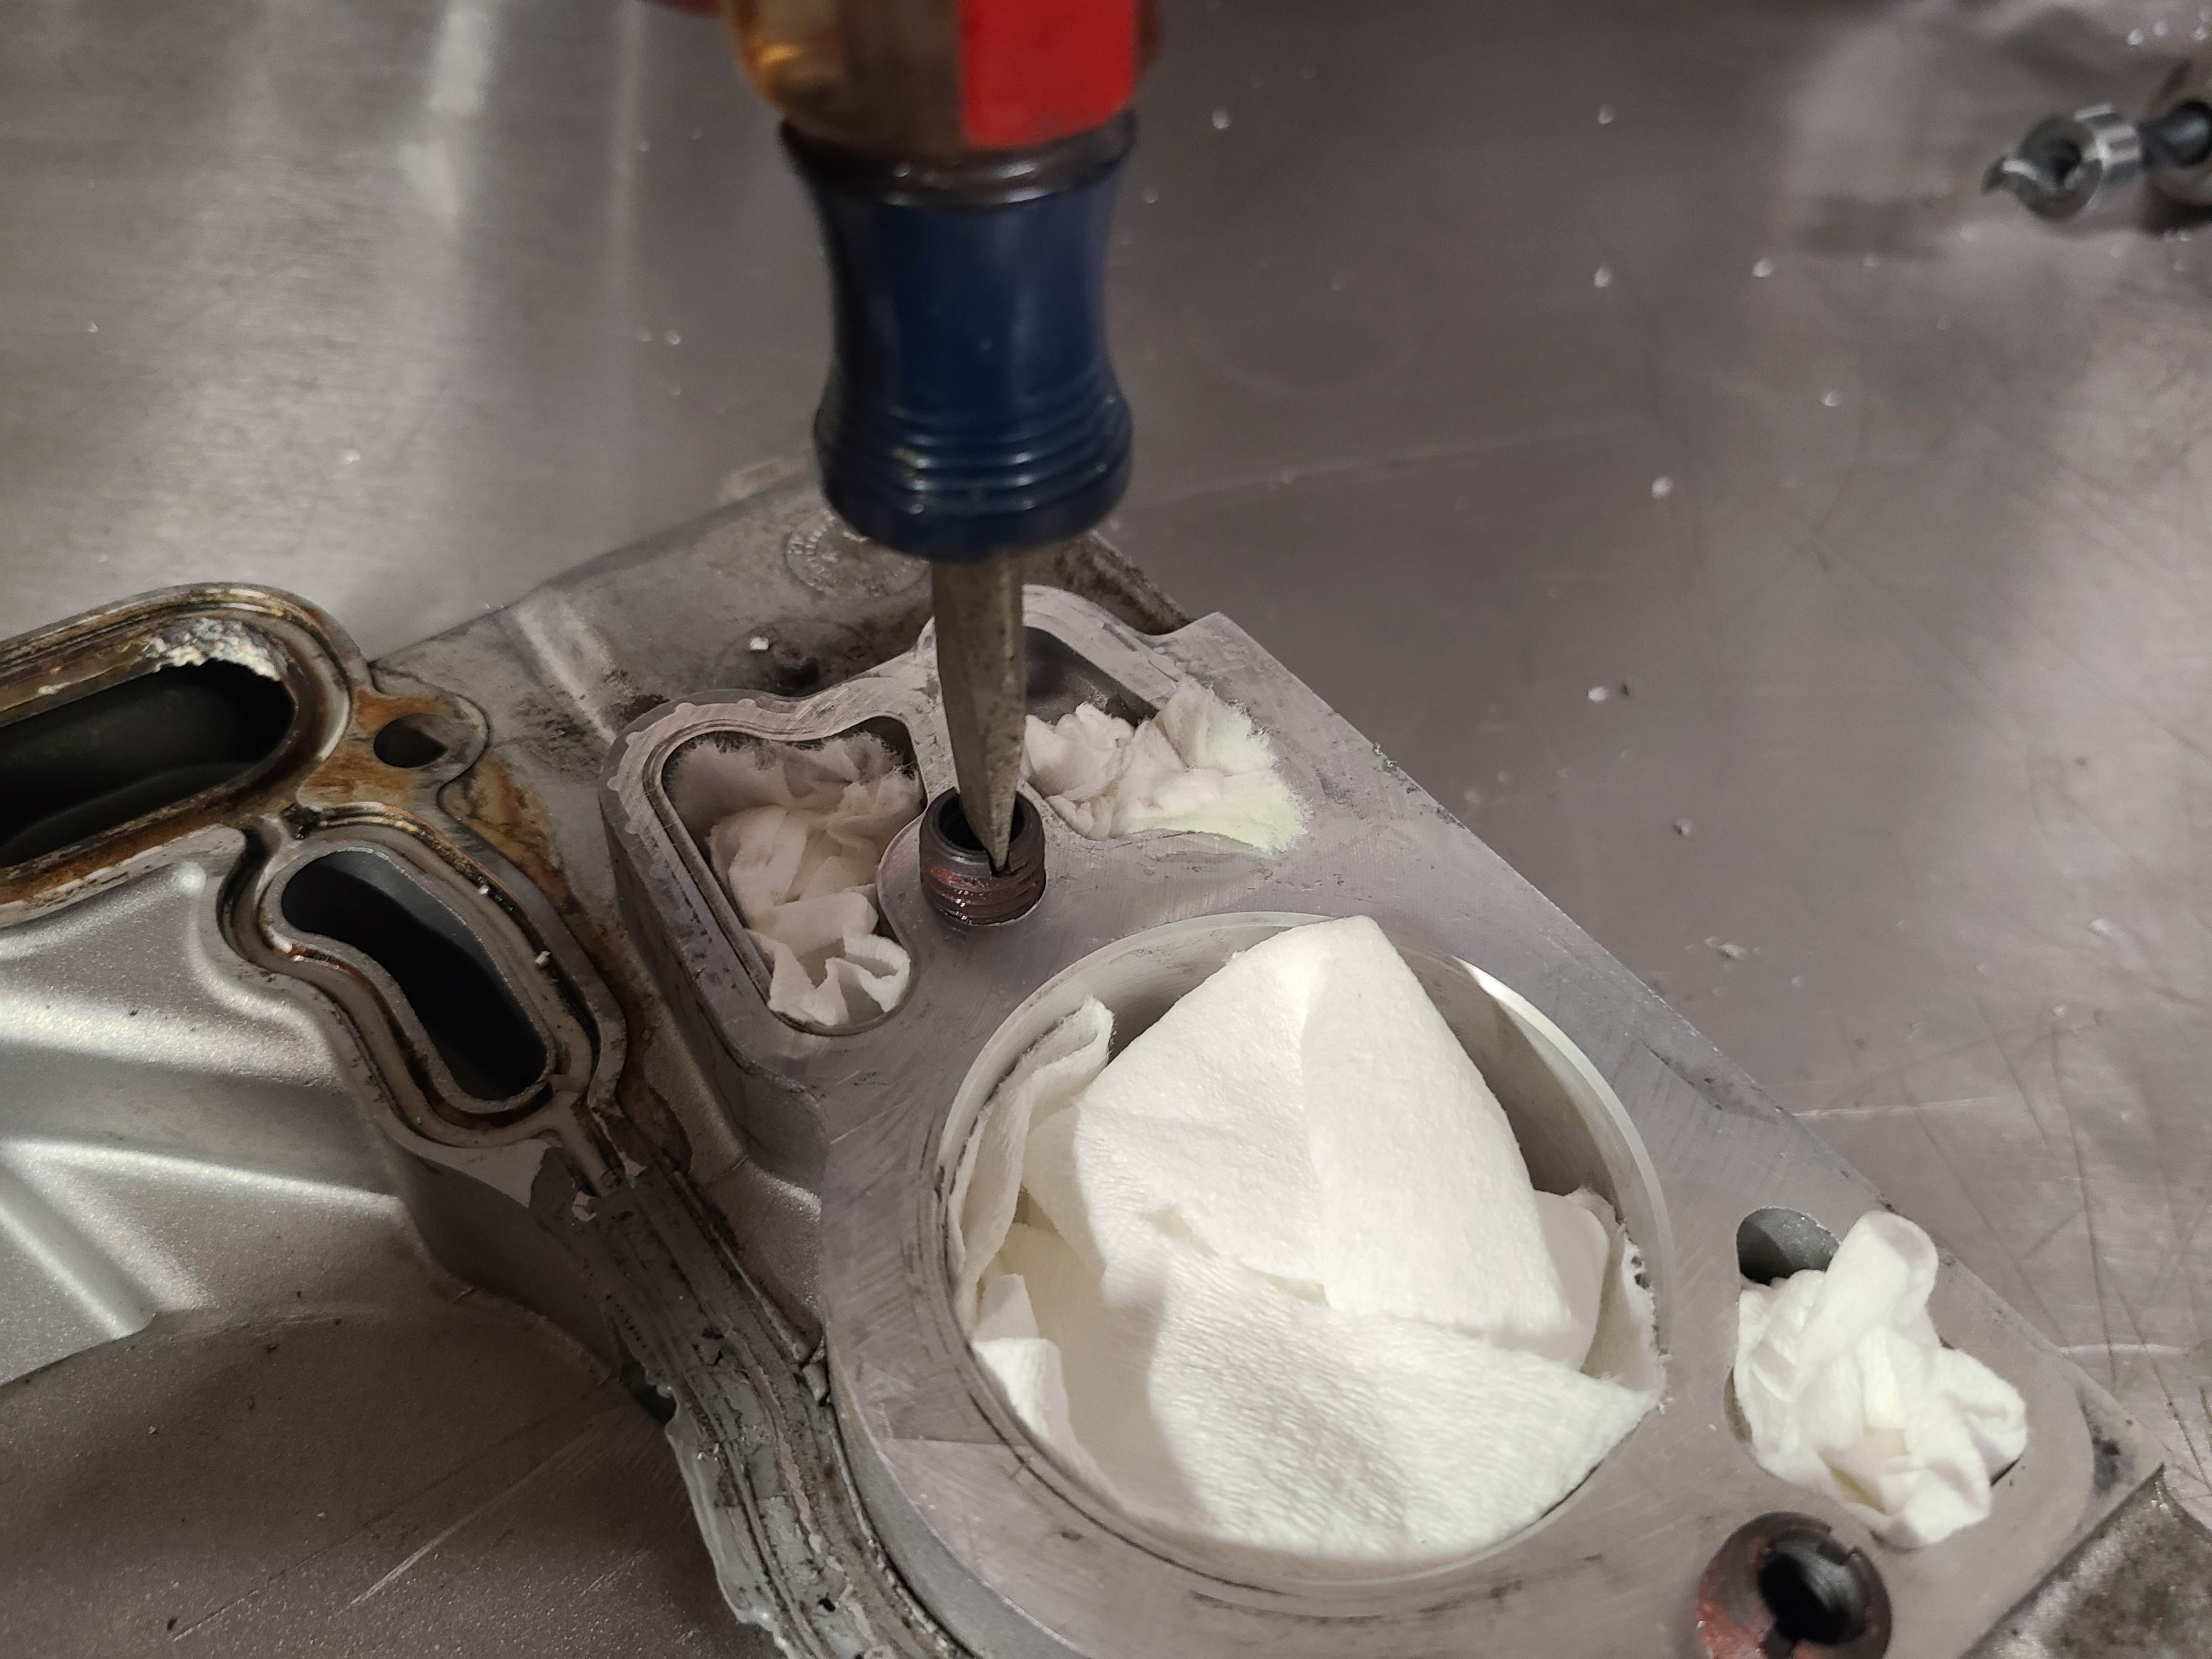
4. Now to drill out the existing holes to accept the larger threaded insert.
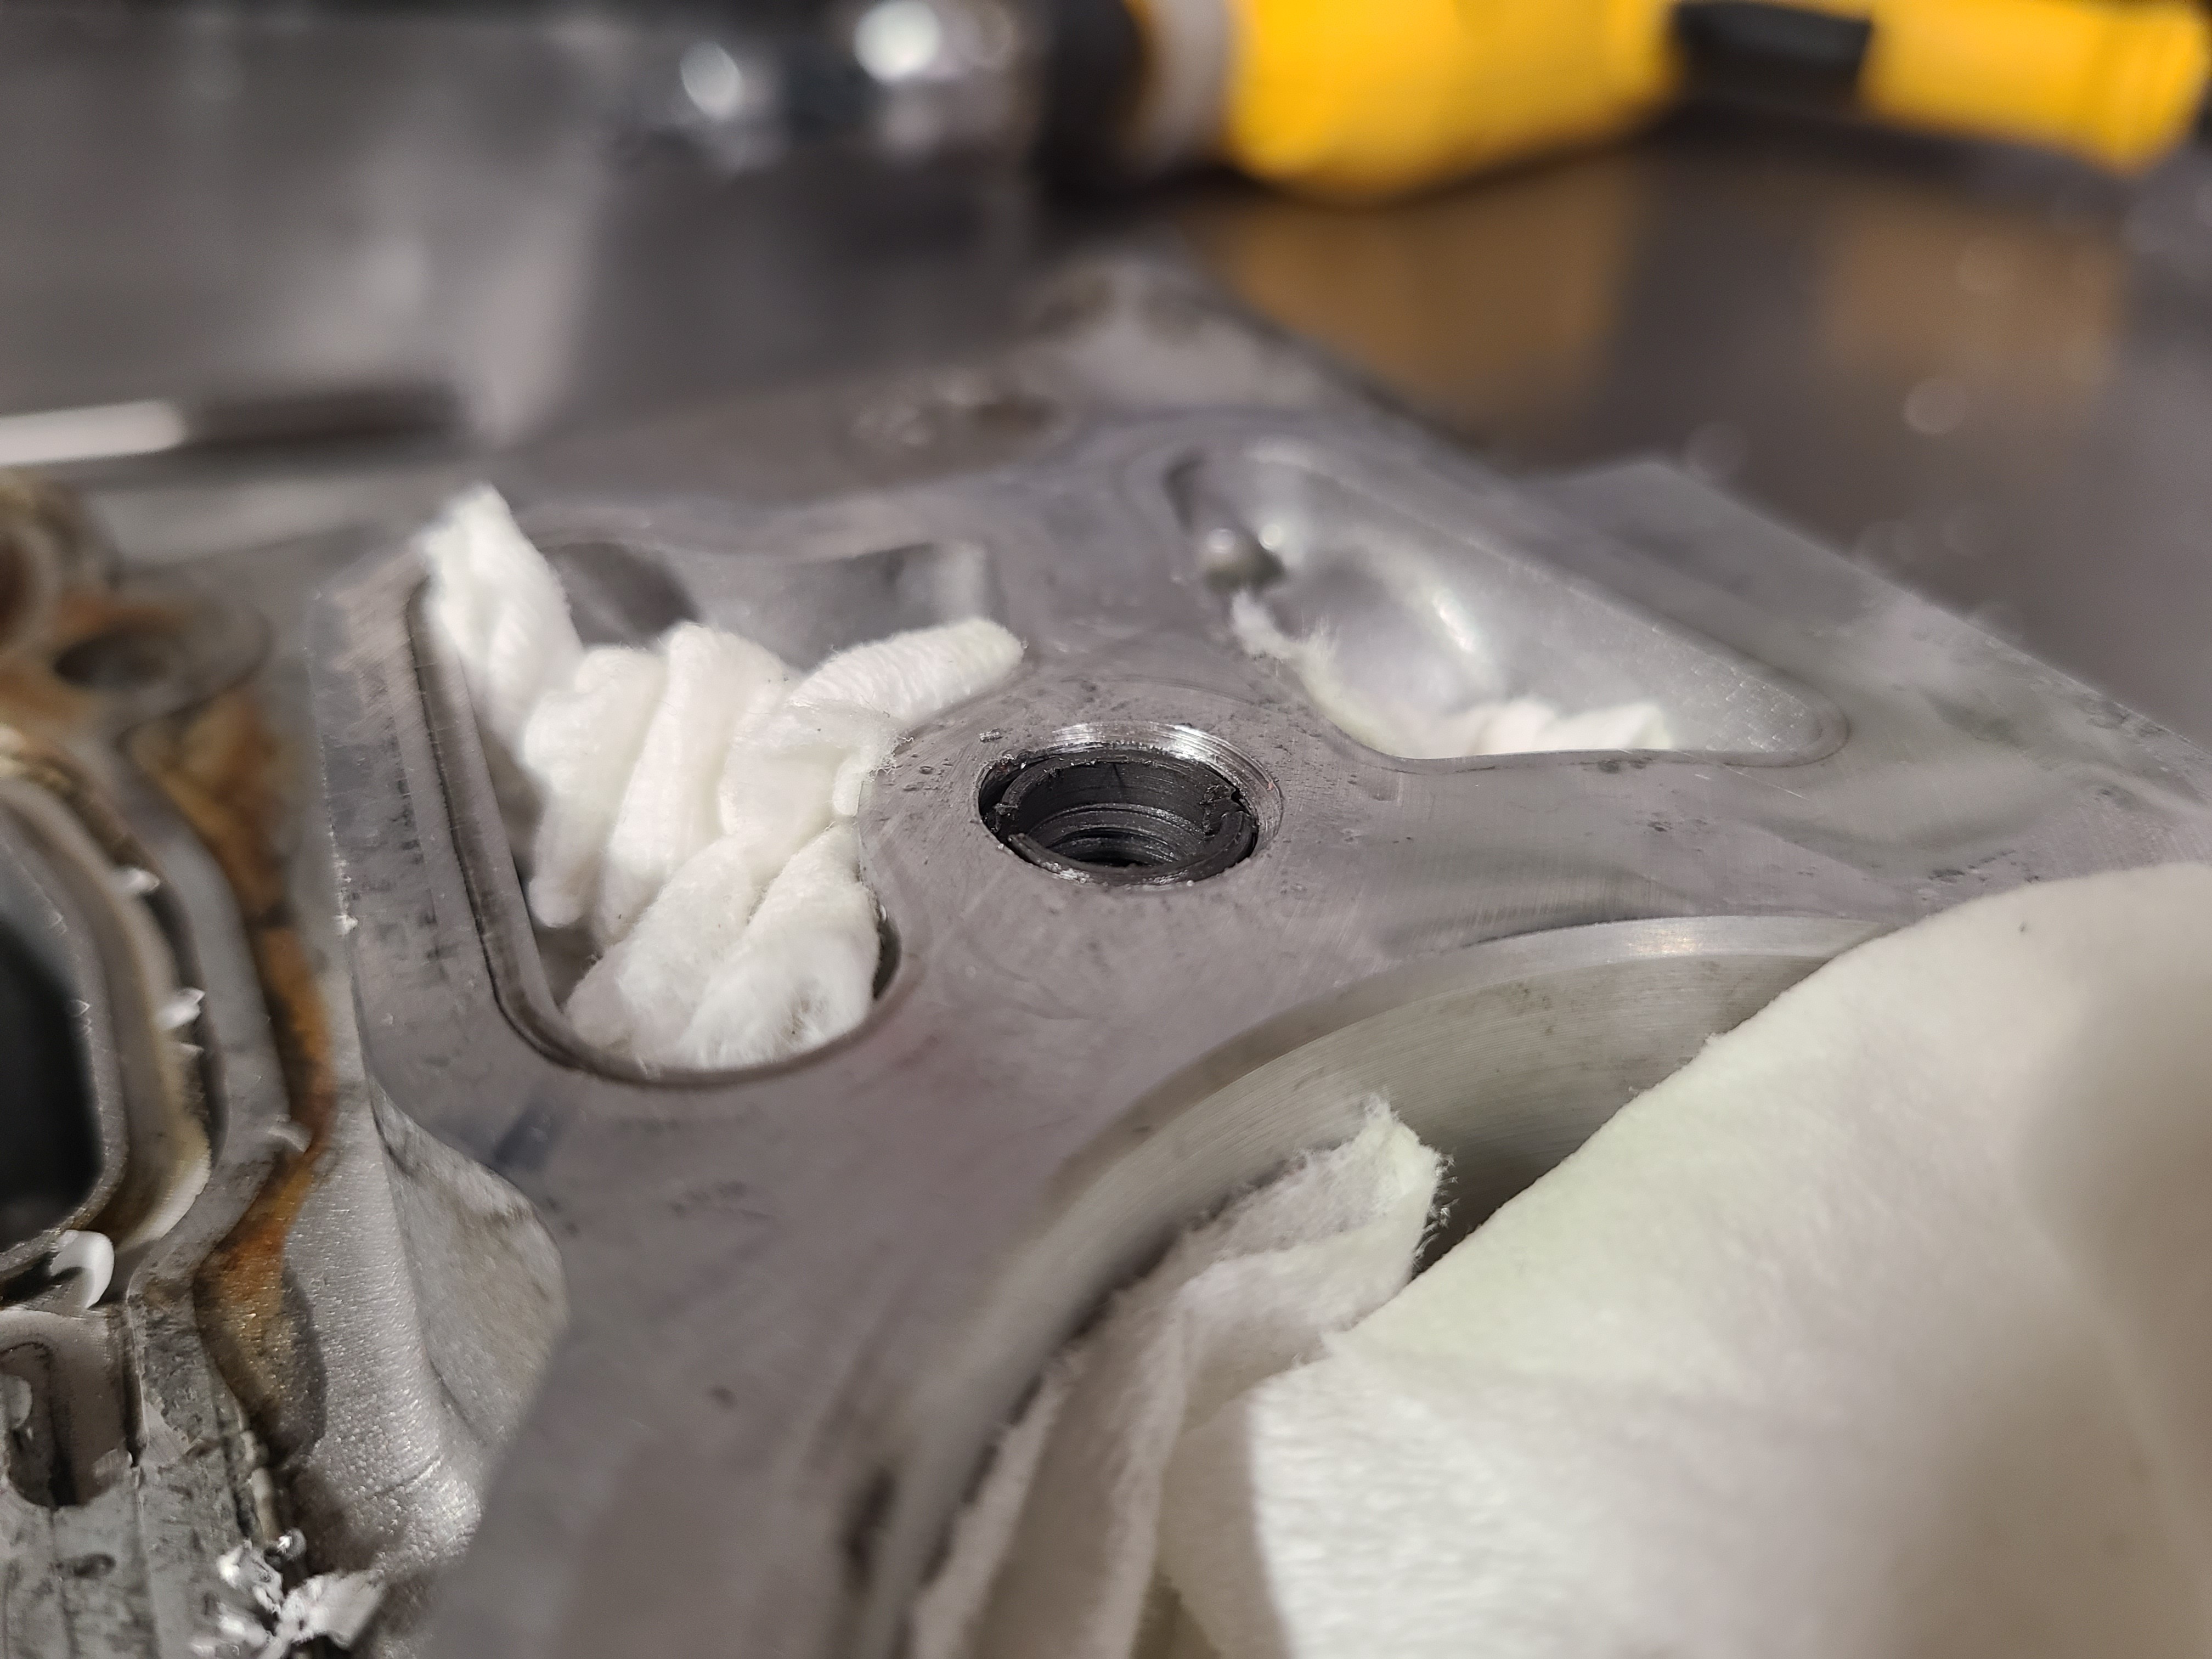
NOTE: Placing a rag or paper towel in the valley here will aid in the cleanup process.
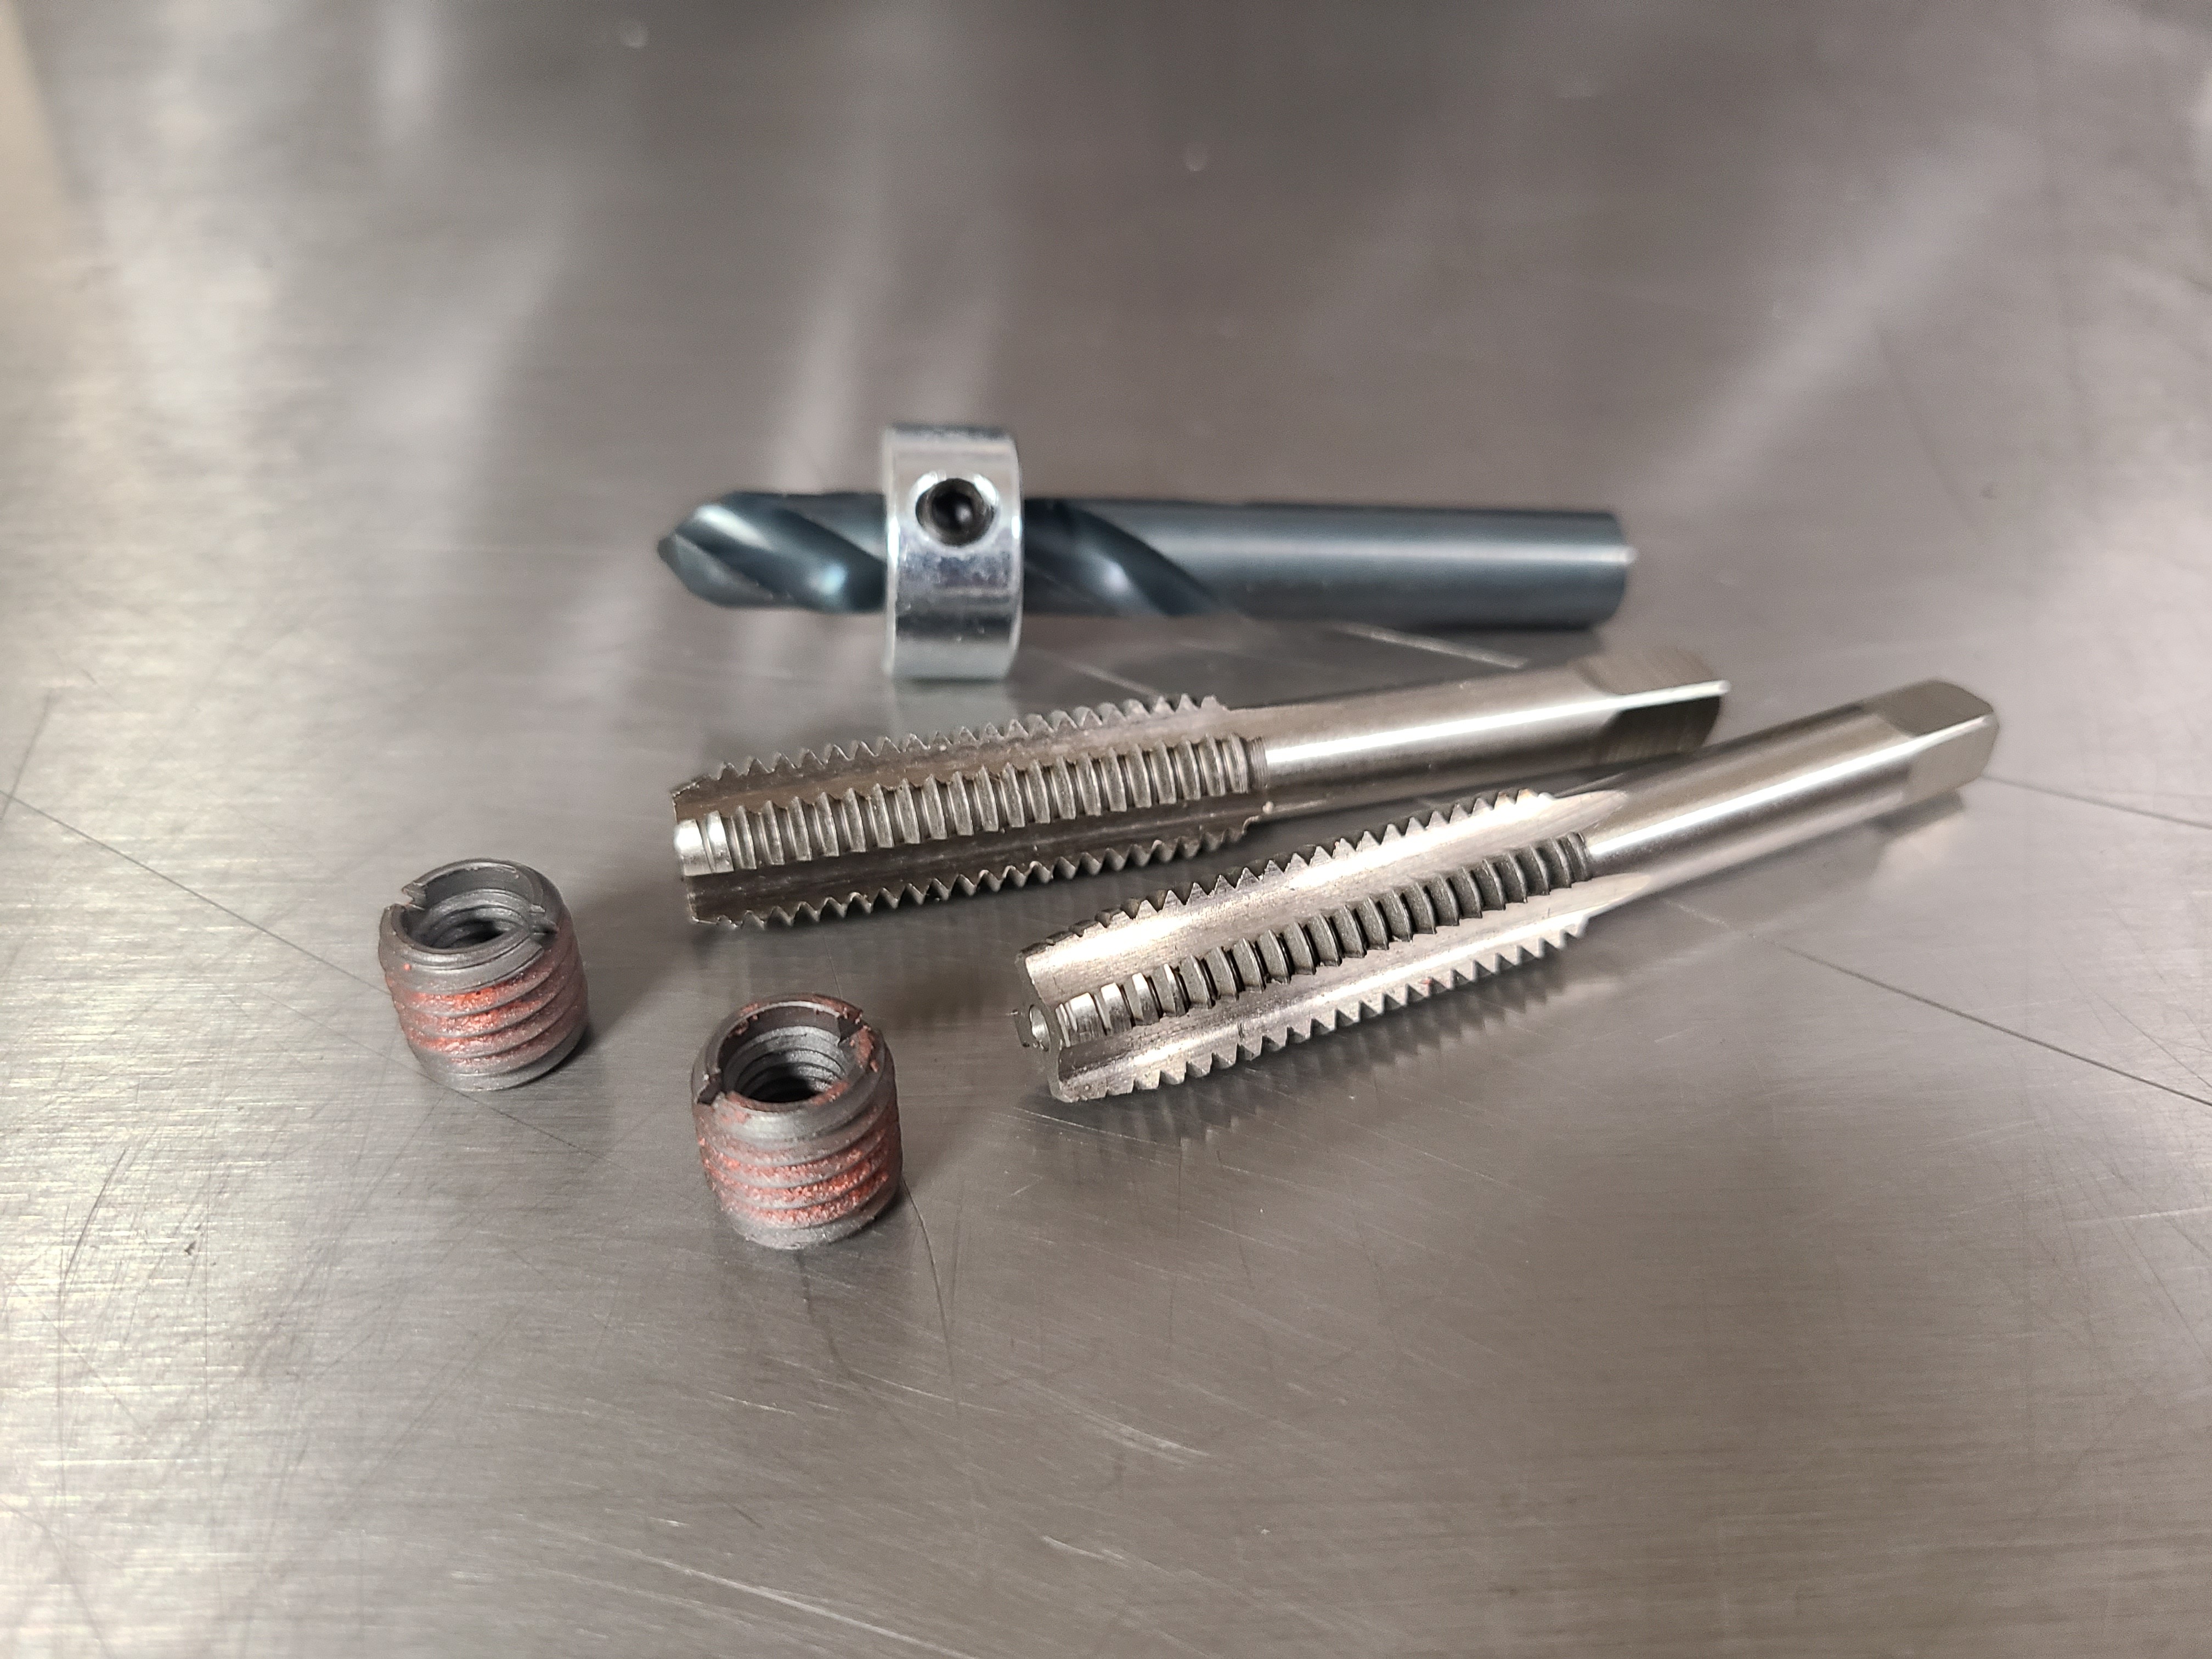
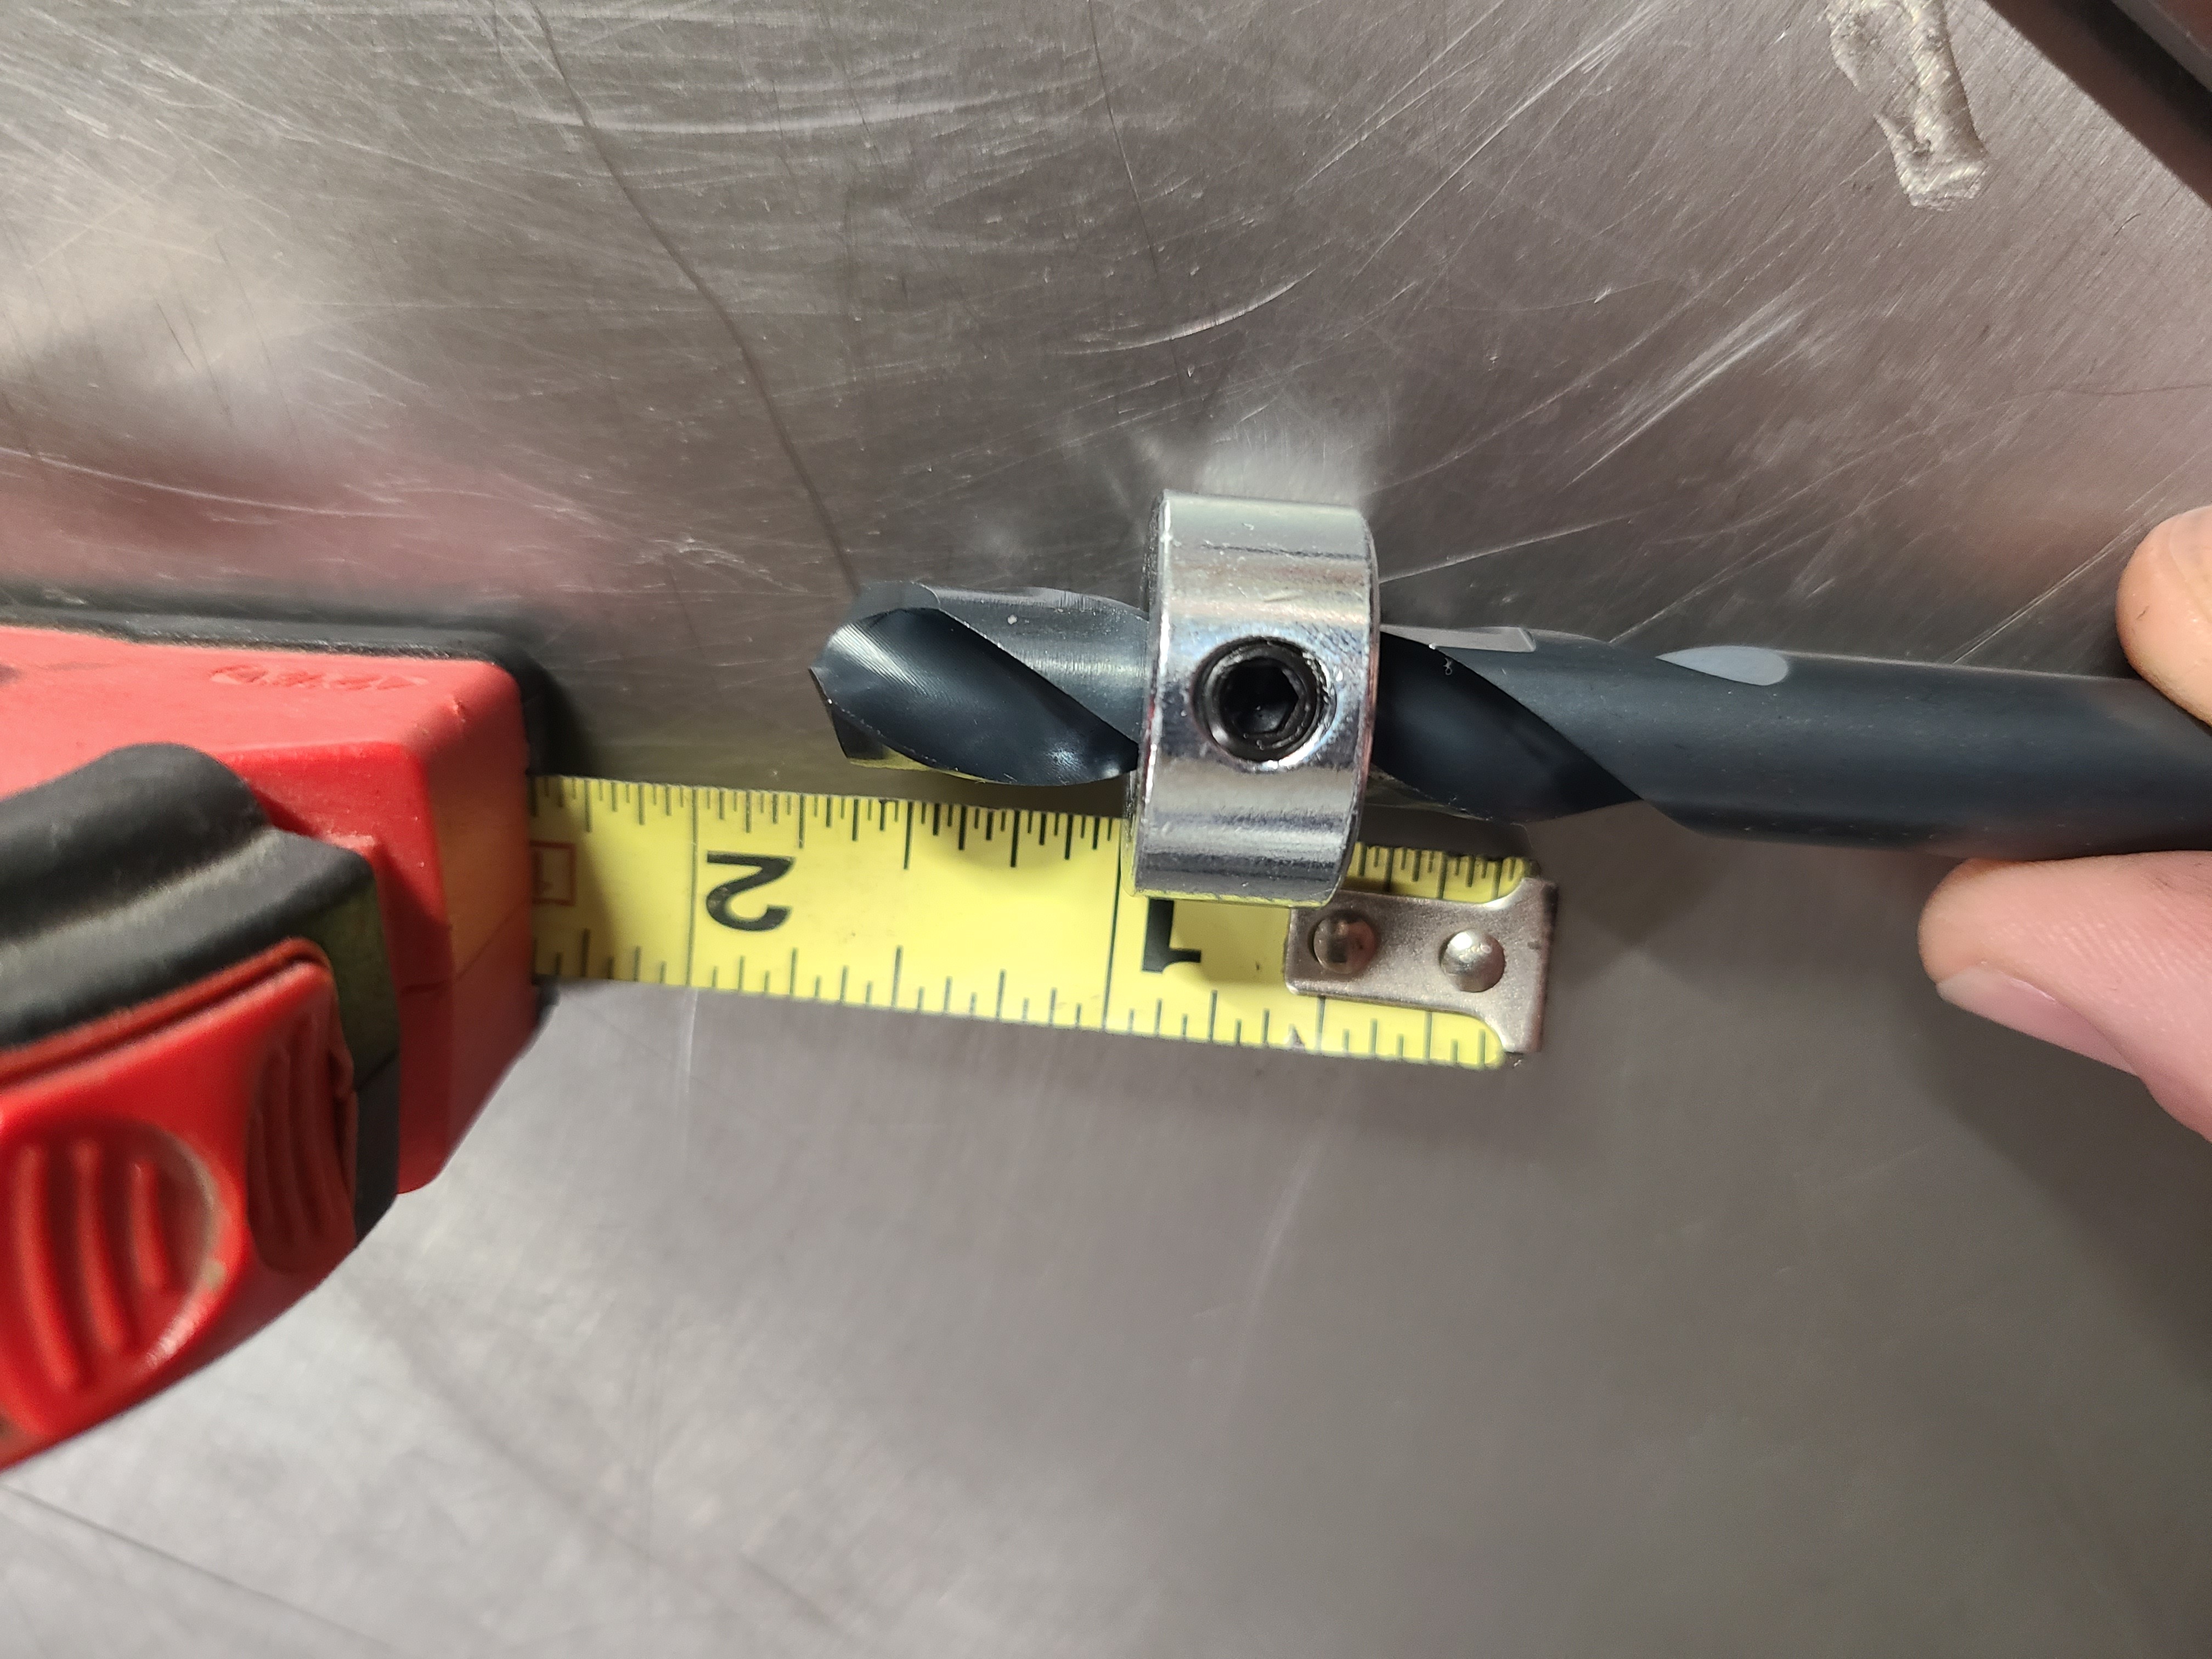
5. The Riffraff Diesel EZ-LOC kit comes with the correct size drill bit, plus this depth stop. Set the depth for just barely over ¾-inch to ensure you don’t drill too far into the front cover. FYI, drilling won’t take much effort. If you have to use any force, stop and check to make sure you’re not drilling too deep. A 90° drill, or right-angle drill, is extremely helpful here. A larger-bodied standard drill usually won’t fit correctly, and the 90° drill makes it much easier to get the bit perpendicular to the surface. Make sure the hole being drilled is perpendicular to the surface.
6. Once both holes have been drilled out, clean out the holes with compressed air and brake cleaner, or similar.

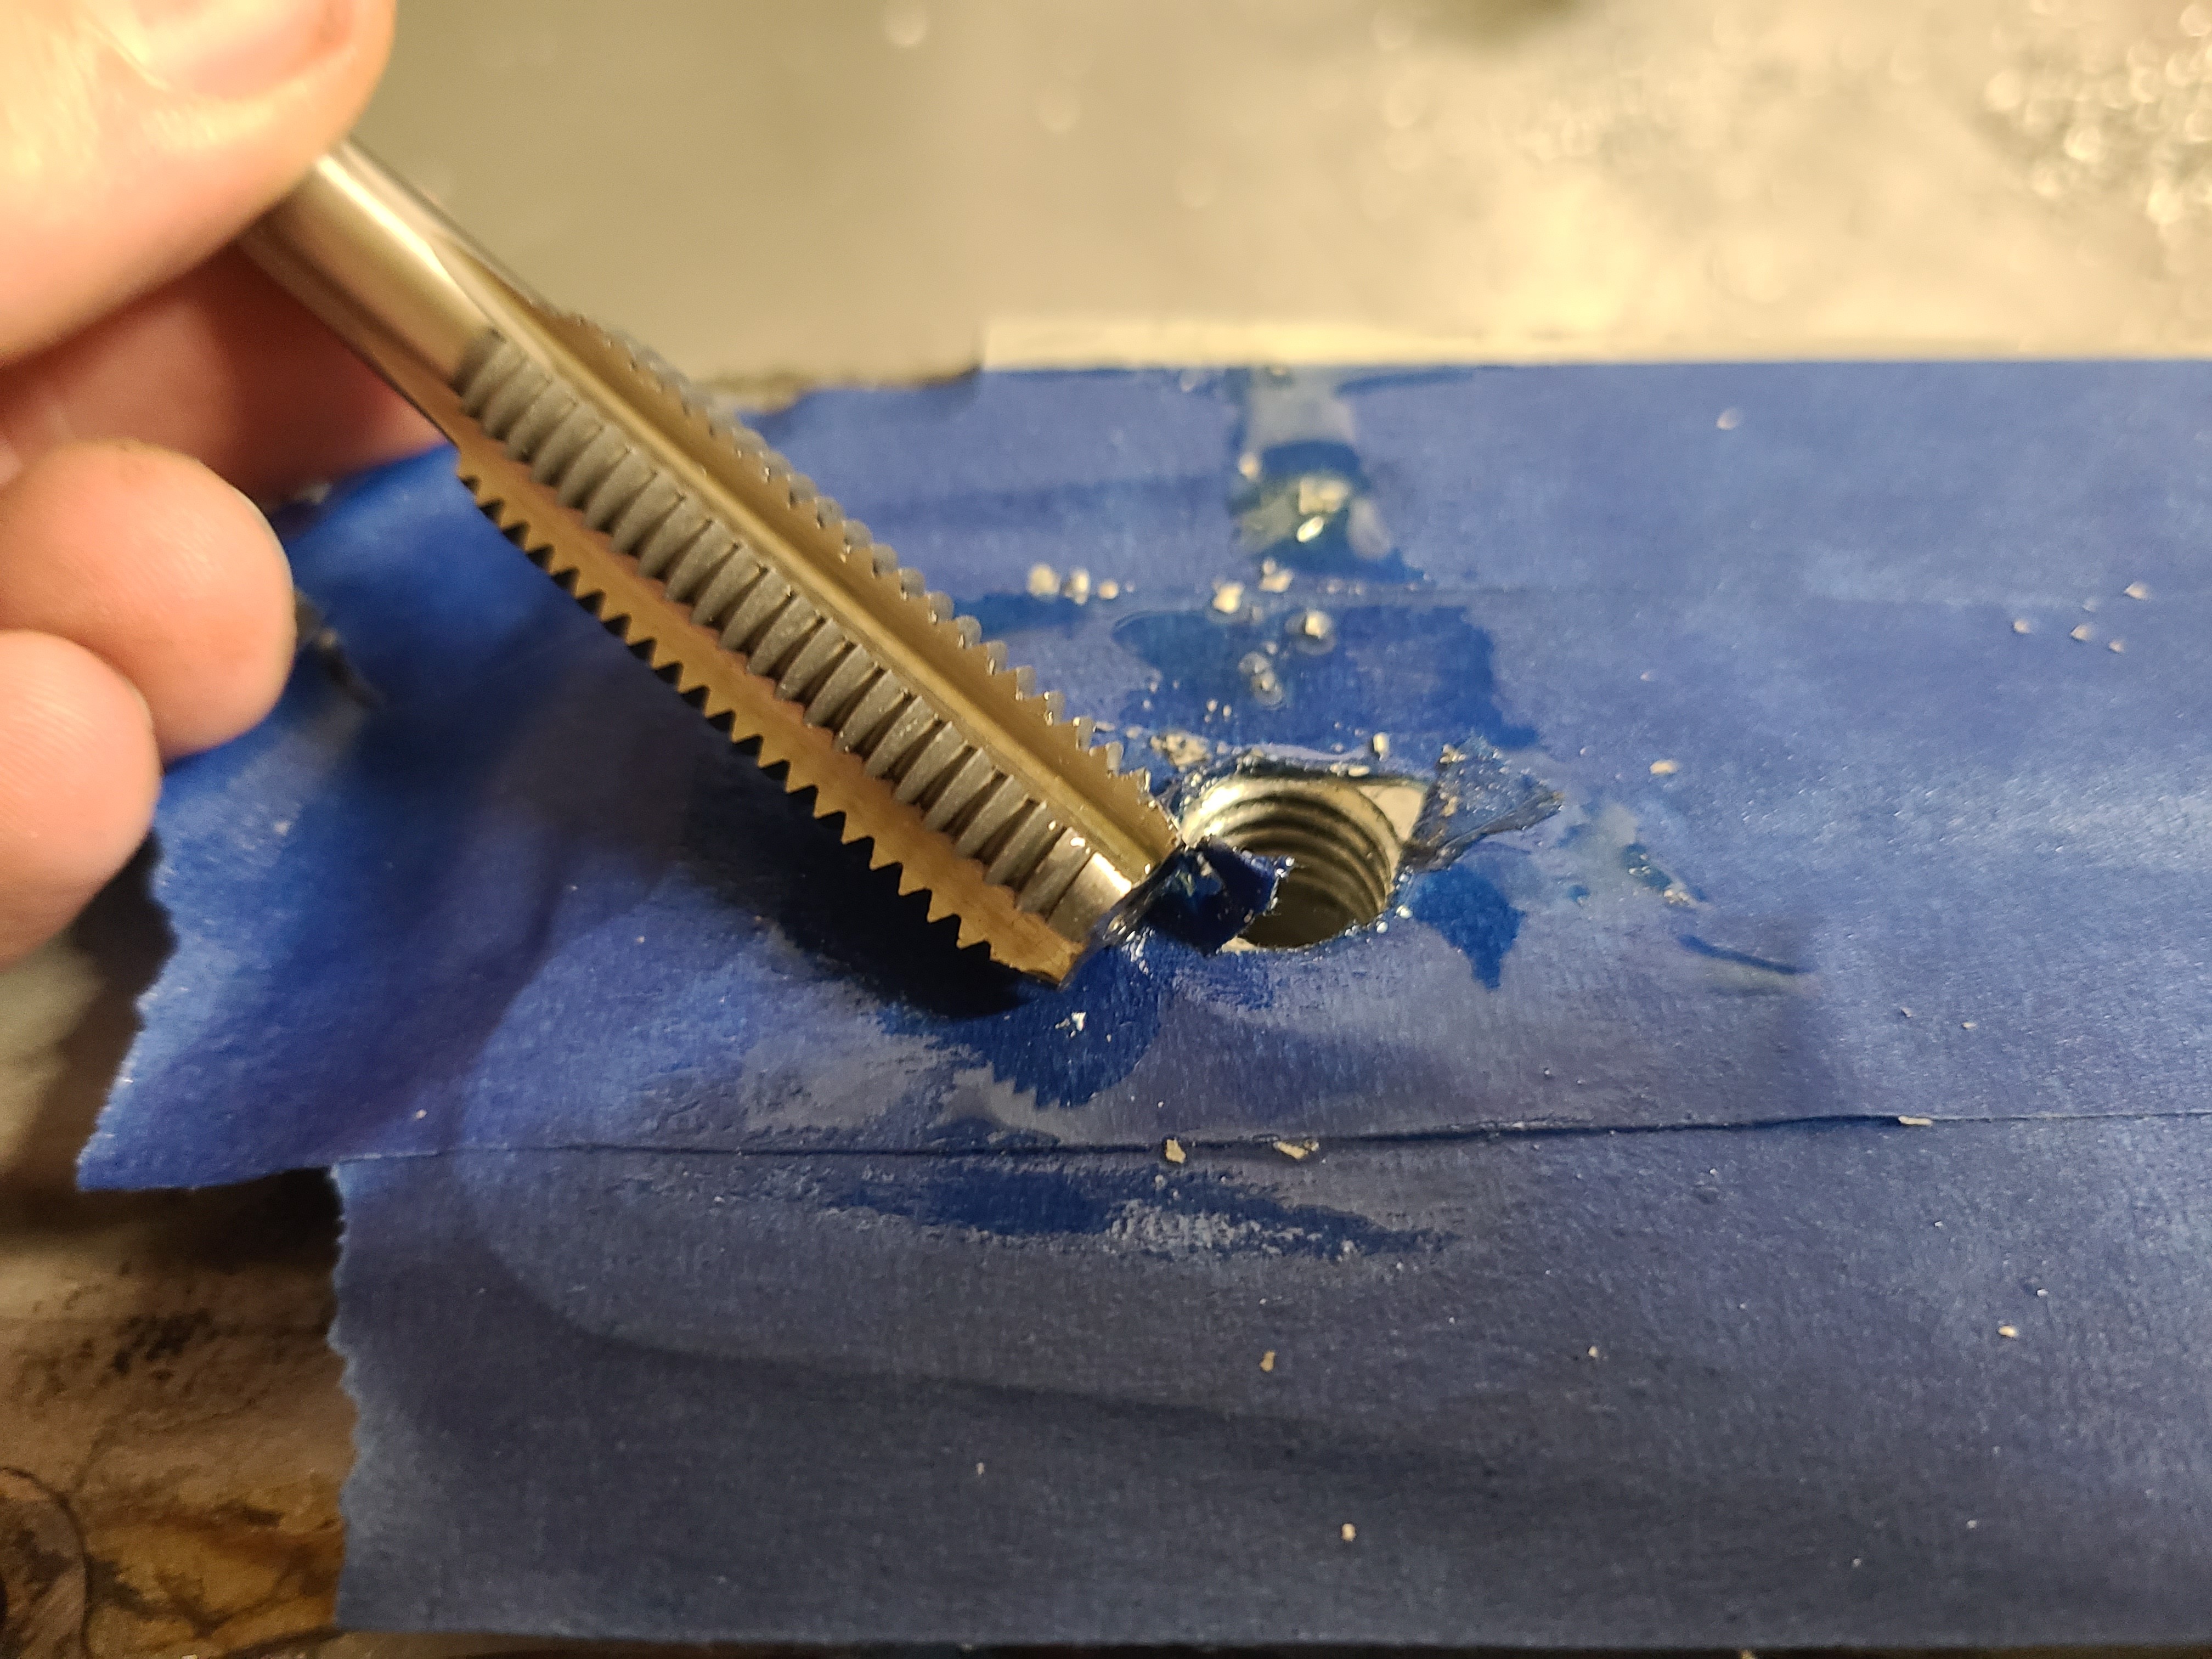
7. Next we’re going to tap the holes.
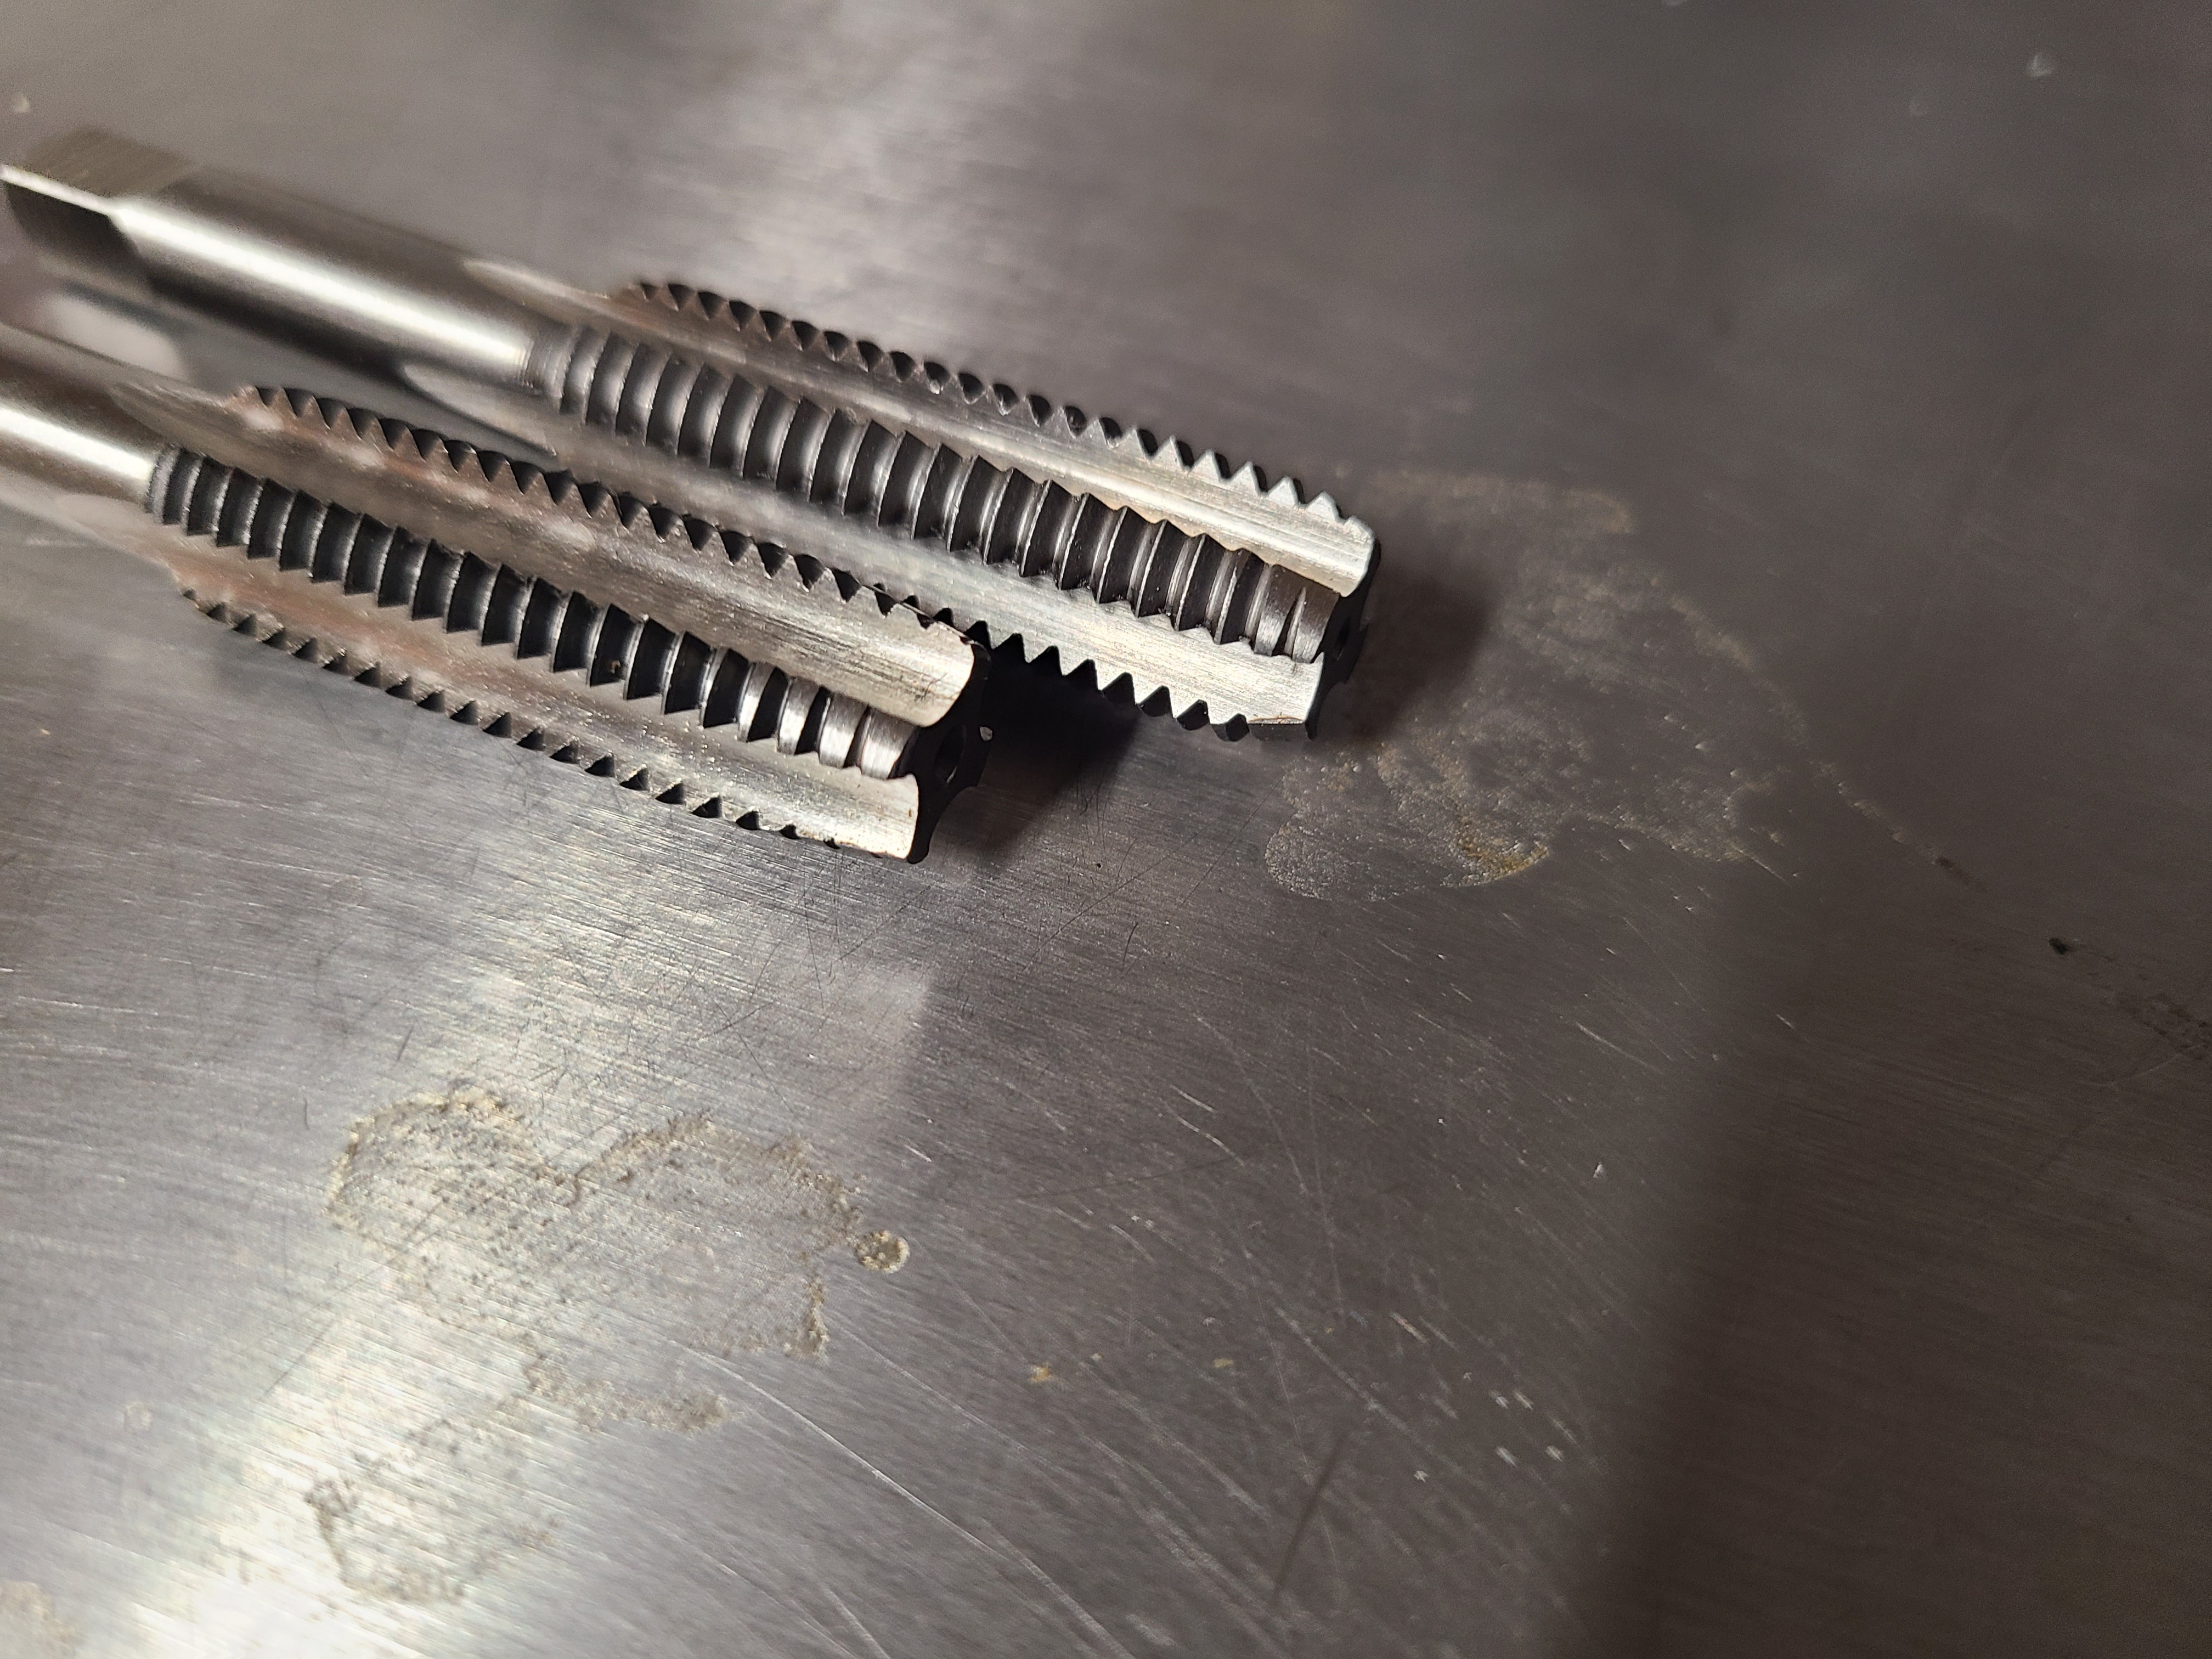
8. The kit comes with two different taps. One for starting the threads (known as a Plug Tap), the other for finishing them (known as a Bottoming Tap). The tap for starting them has a slightly more tapered tip than the finishing tap. The bottom tap in this image is the starting tap.
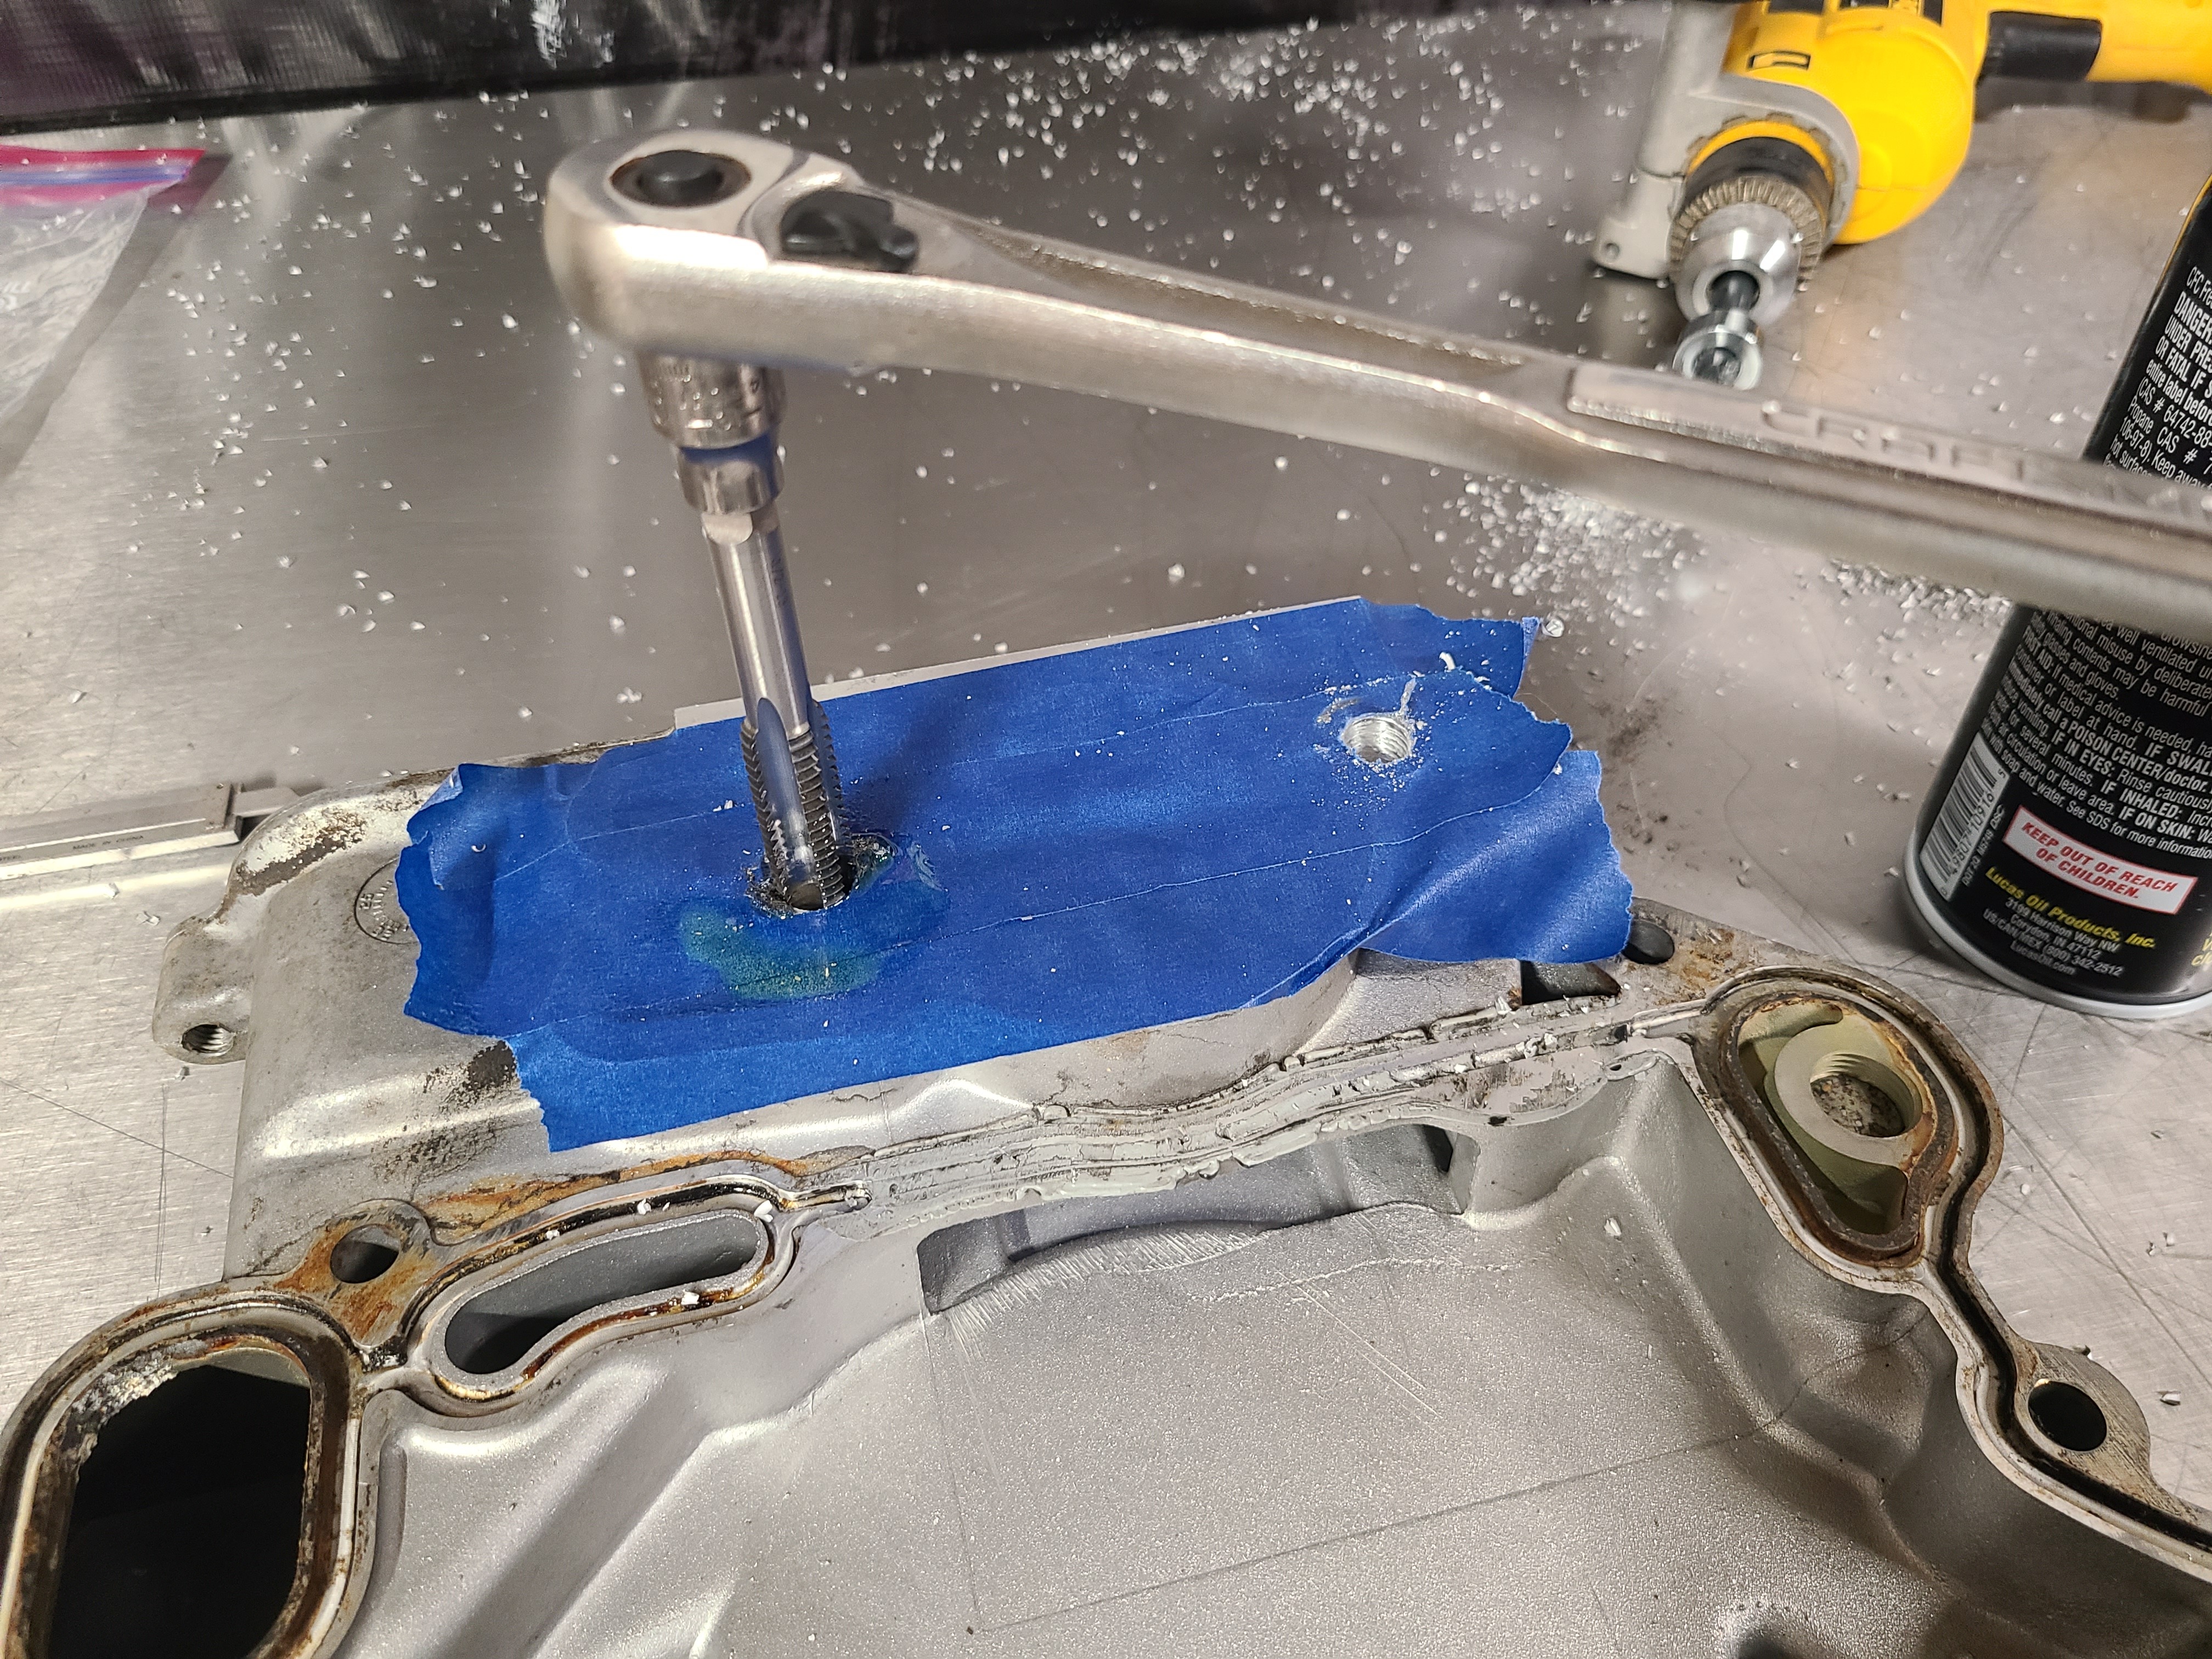
9. There’s not much room for many standard T-bar style tap holders here. Ratcheting style holders tend to work best, or a 9mm 6-point socket with ratchet can be used in a pinch.
Begin with the starting tap and make sure it’s perpendicular to the surface of the front cover, where the HPOP mounts. When tapping holes, make sure to use oil and go slow, backing the tap out every ½ turn or so to clear the new threads of aluminum chips. The tap will bottom out in the hole when done. Don’t force it past the stop.
10. Clean the hole out as done before, and follow up behind the starting tap with the finishing tap. The tap can be started by hand before turning it with your chosen tool.
11. Clean out the holes one last time and clean the entire area thoroughly before removing the tape.

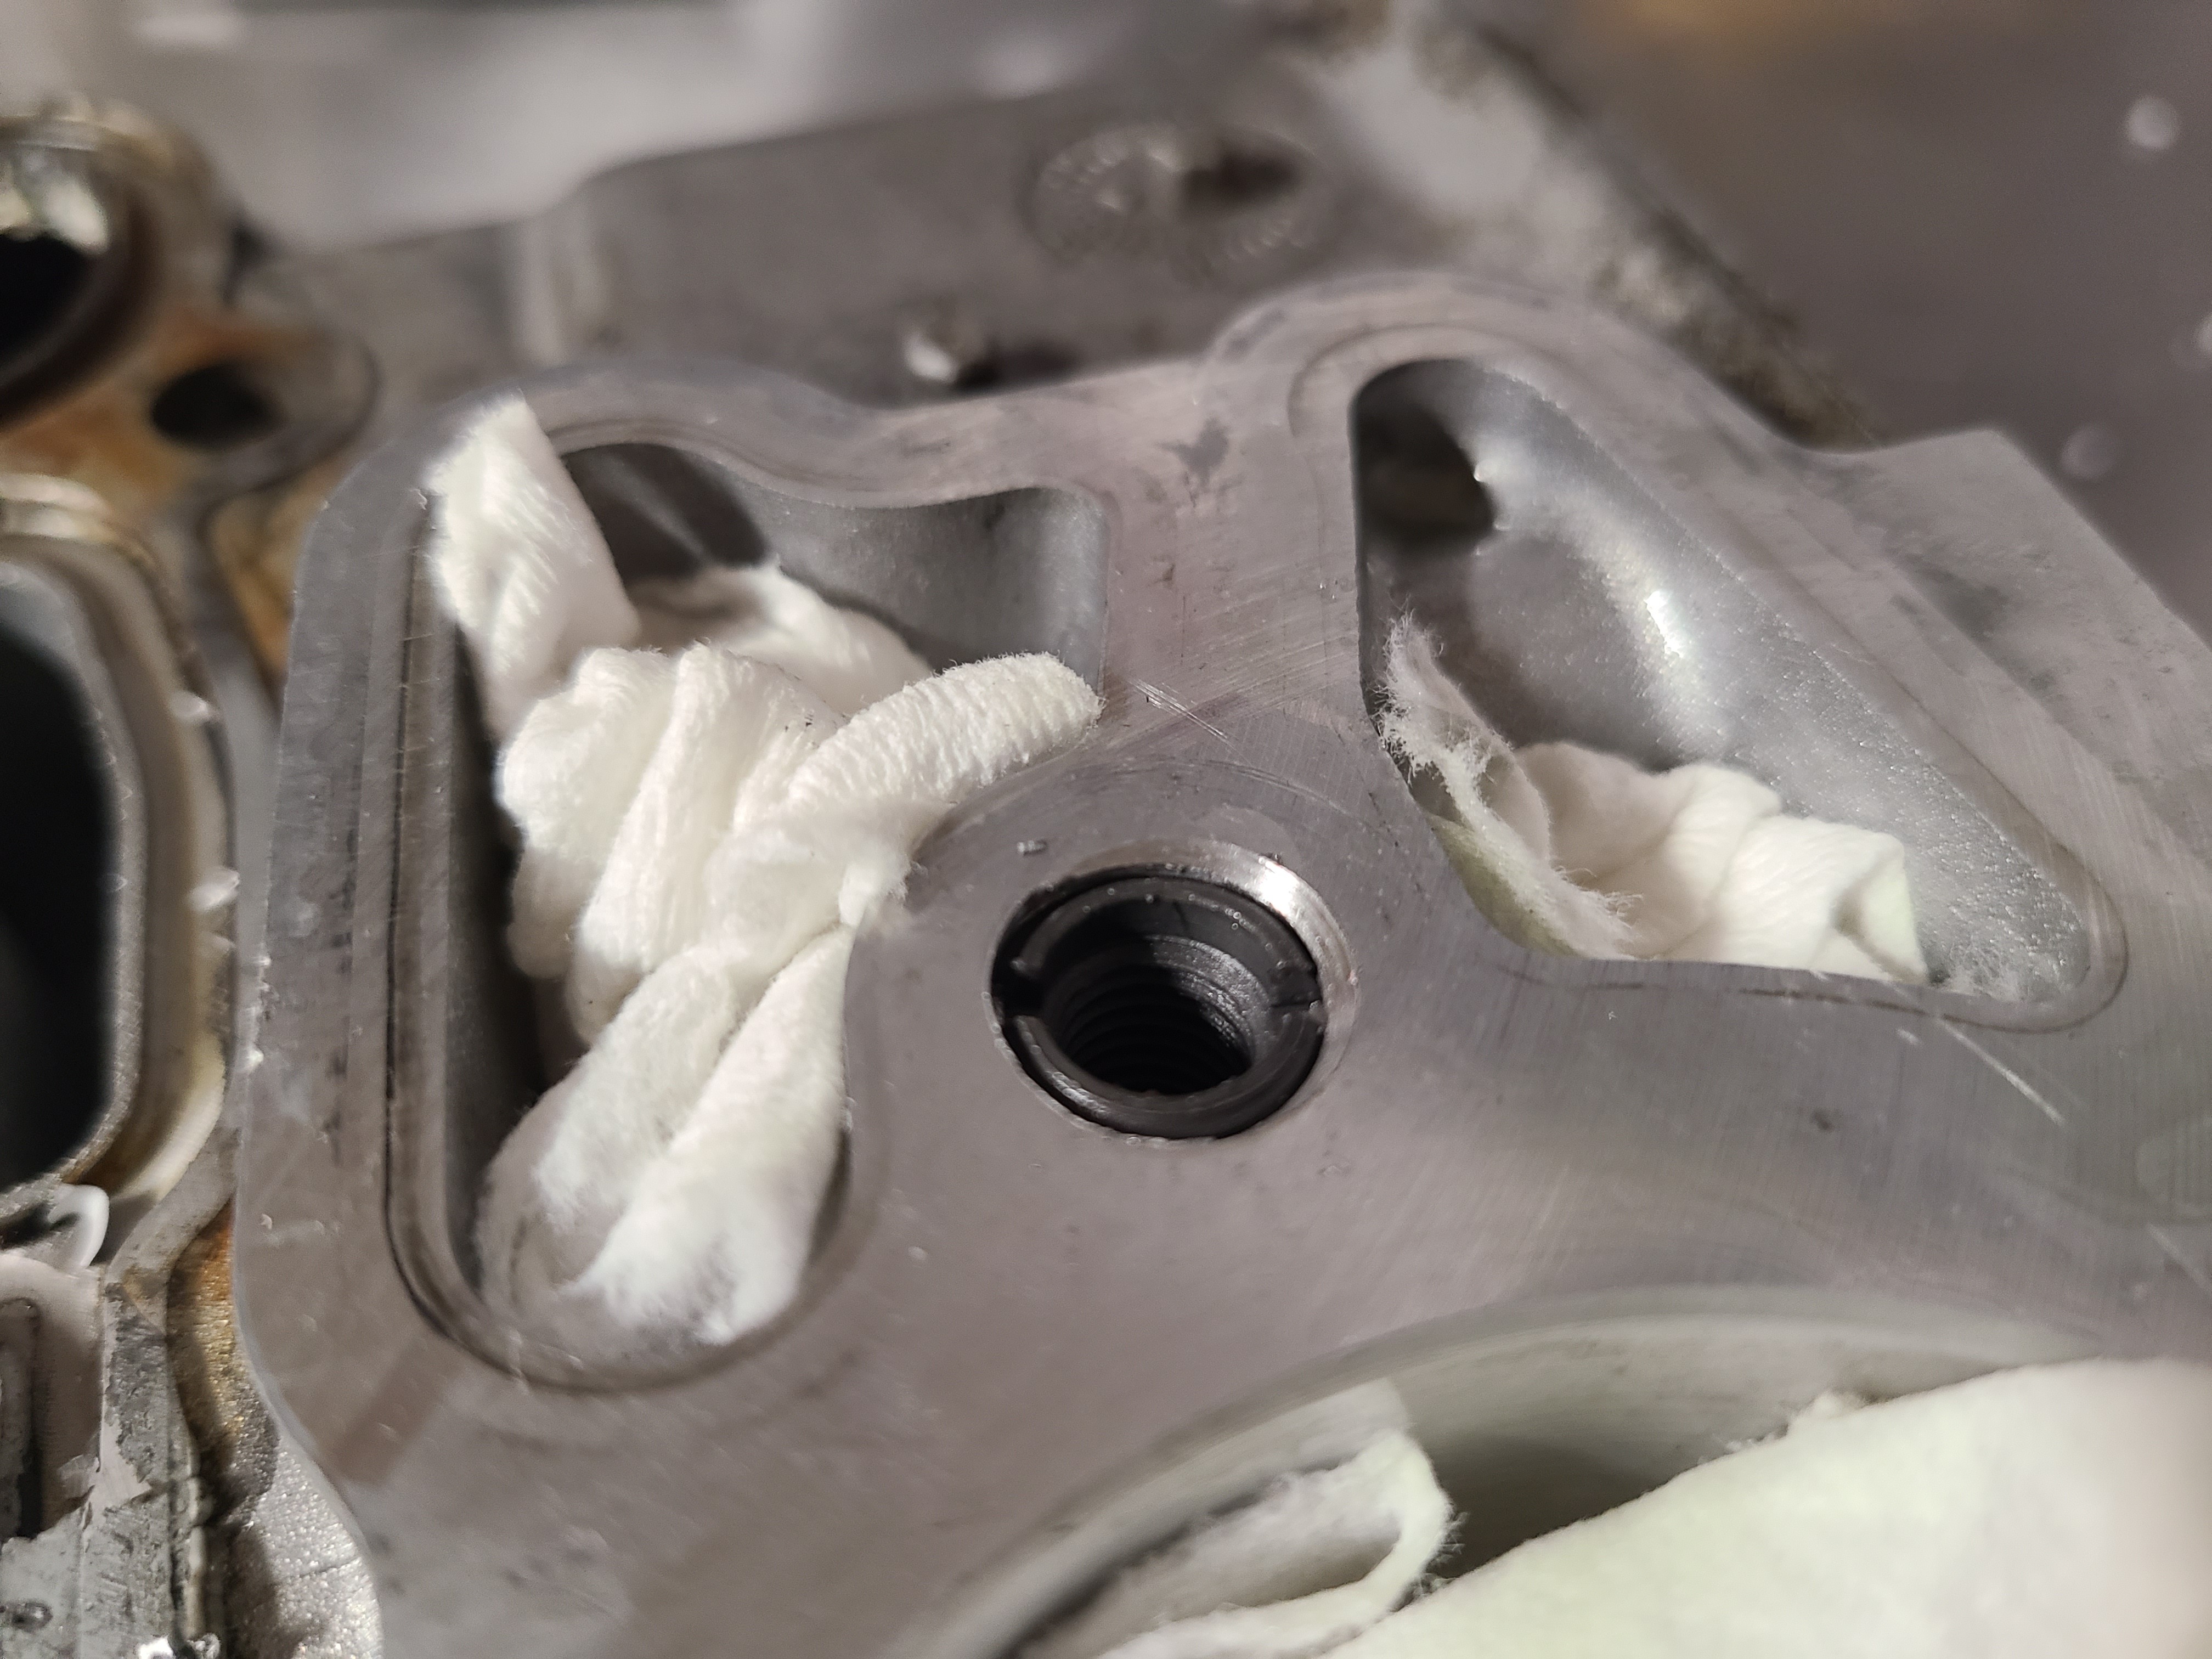
12. Next start the installation of the inserts by hand. Get a few threads going before bringing in the flat head screwdriver to finish the job.
NOTE: The inserts are already coated with thread locker from Riffraff. There’s no need to add more. We've also added new rags in the holes. We're not worried about aluminum shavings now, but if an insert were accidentally dropped into one of these holes, removing it would be a huge undertaking.

13. When threading the inserts into their new homes, make sure the insert is just slightly below the surface to eliminate any interference issues between it and the HPOP and its gasket.
14. Reinstall the HPOP and everything else previously removed, and you’re done!
***Disclaimer: The information provided on this blog is for informational purposes only. We share our knowledge and experience, but we are not liable for any damages, injuries, or losses that may occur as a result of using this information. Situations are rarely cut and dry in the automotive world. Your situation will likely be somewhat different than what we describe here. Use your best judgment and always consult a qualified professional for automotive repairs and modifications. Your safety is your responsibility.


