
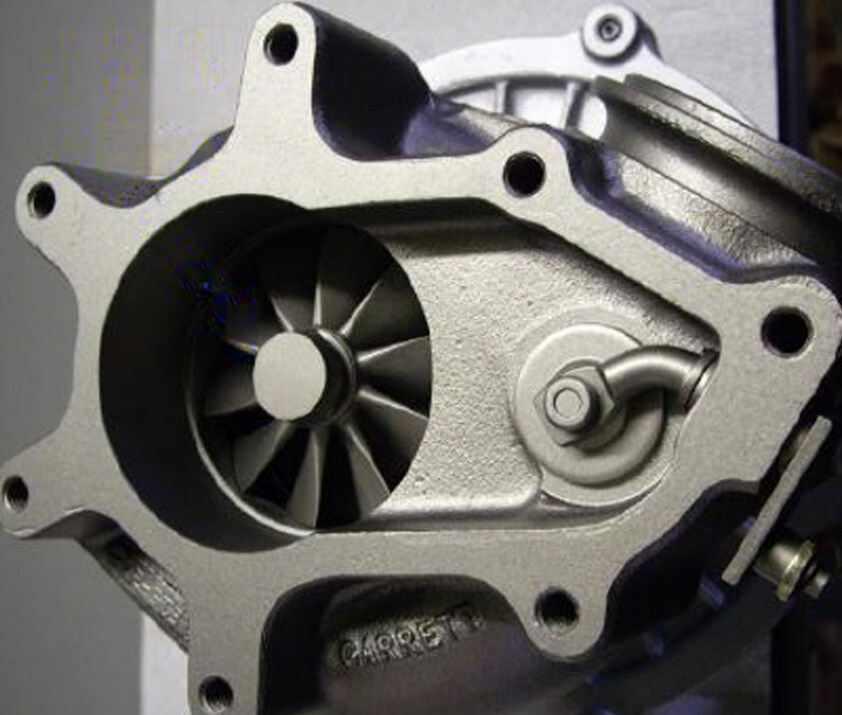
Step By Step Installation: Ported Housing Compressor Wheel
Sep 4th 2025
Full PDF Instructions can be downloaded here: https://www.riffraffdiesel.com/content/RESOURCES/Riffraff_Diesel_Ported_Housing_Instructions.pdf
Product Link: https://www.riffraffdiesel.com/riffraff-diesel-billet-compressor-wheel-ported-housing/
IMPORTANT: Before starting installation, please be sure that all items which were supplied with the kit are accounted for.
Required Parts:
- Riffraff Diesel Billet Compressor Wheel - Ported Housing: Part# RDP-703697-0001
- Garrett Compressor Housing O-ring: Part# GZ-14-010
- Turbo Pedestal O-ring Kit: Part# GZ-9-003
Recommended Tools:
- Metric socket and wrench set
- Common screwdrivers
- Torque wrench
1. Remove the turbocharger using these instructions: 99.5-03 Turbo Charger R&R Instructions
2. Remove the Exhaust Back Pressure Valve (EBPV) from the turbine housing (7, 8mm bolts).
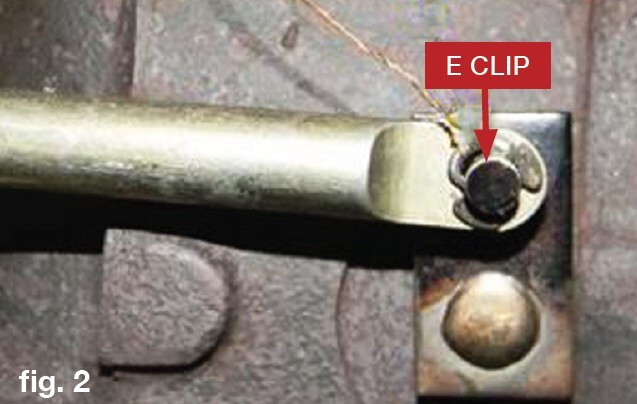
3. Remove the wastegate E clip from the wastegate actuator rod end.
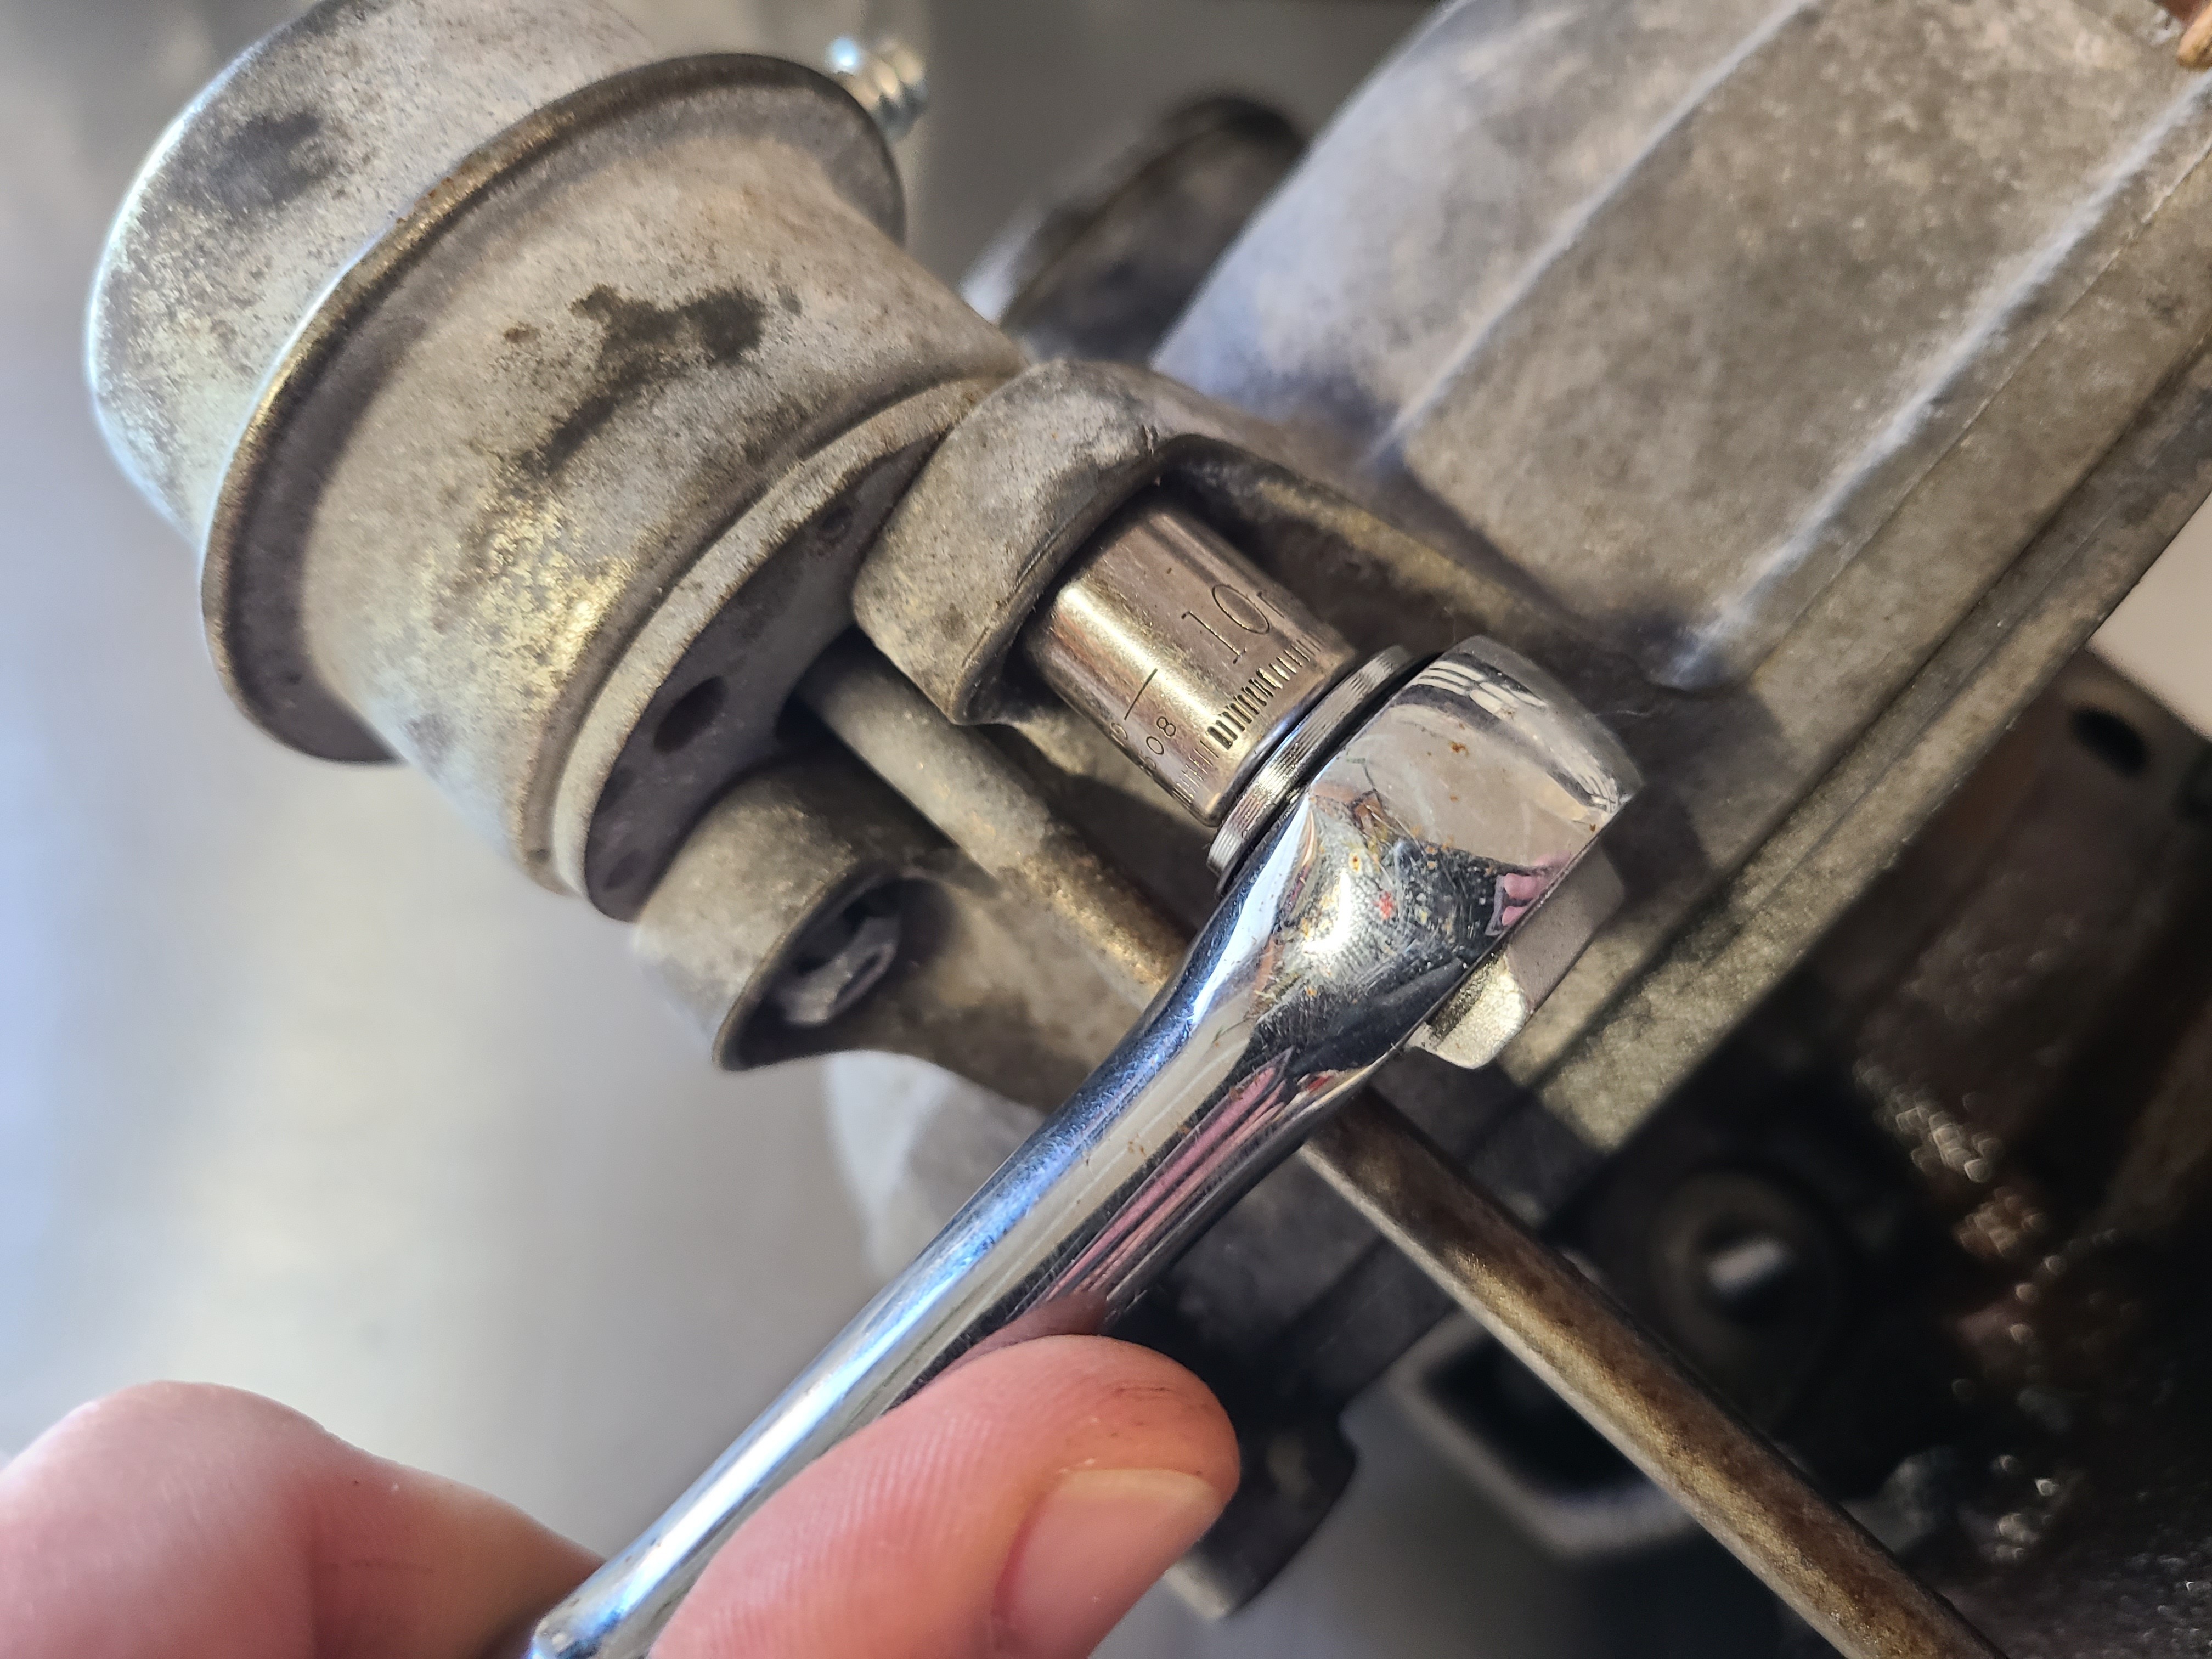
4. Remove the two (2) nuts holding the wastegate actuator onto the compressor housing using a 10 mm socket.
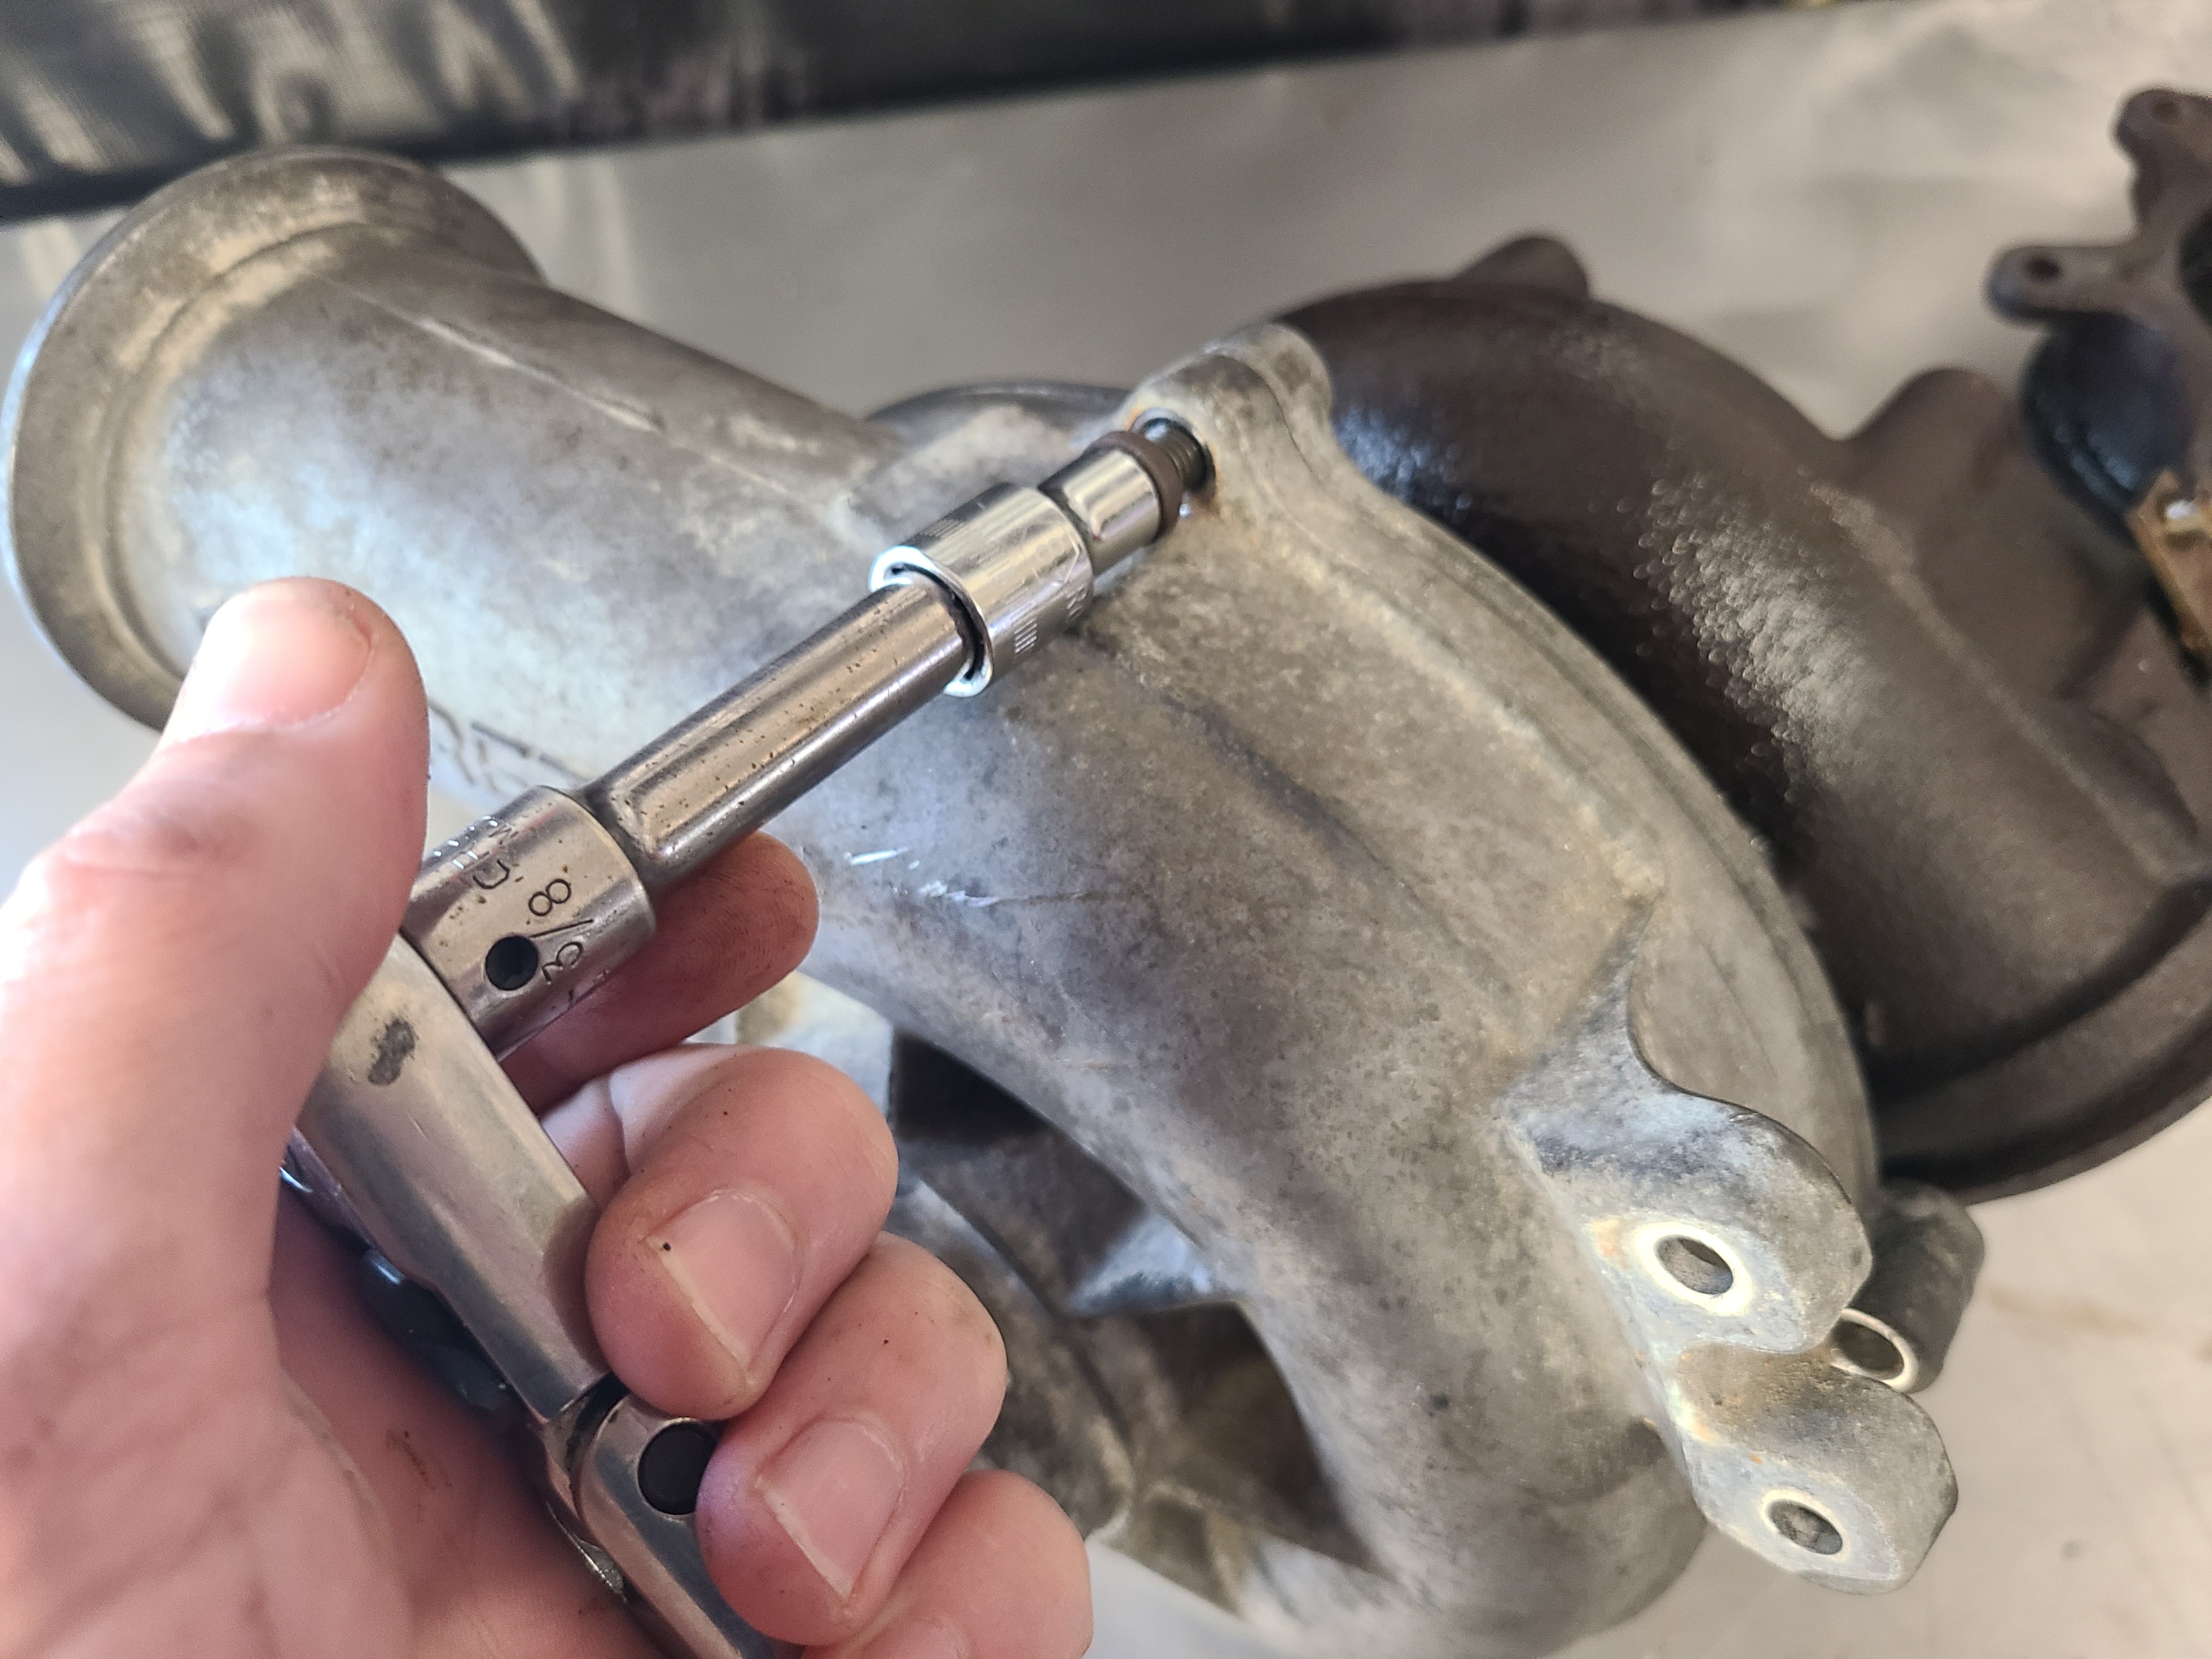
5. Remove the five (5) compressor housing bolts using a 5/16” or 8 mm socket.
6. Remove the compressor housing from the turbo.
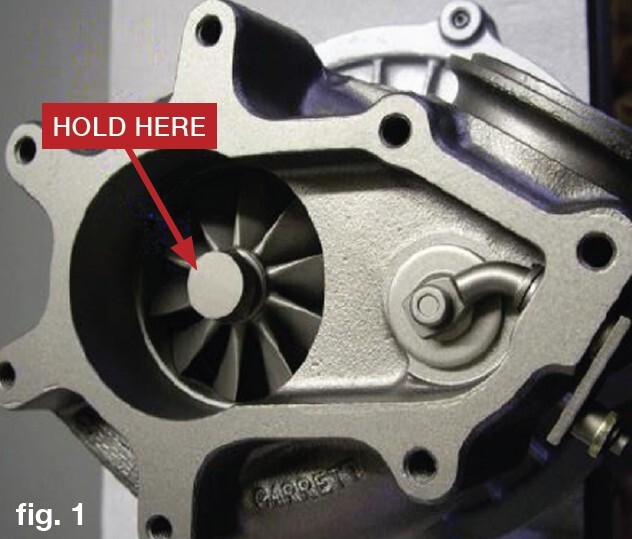
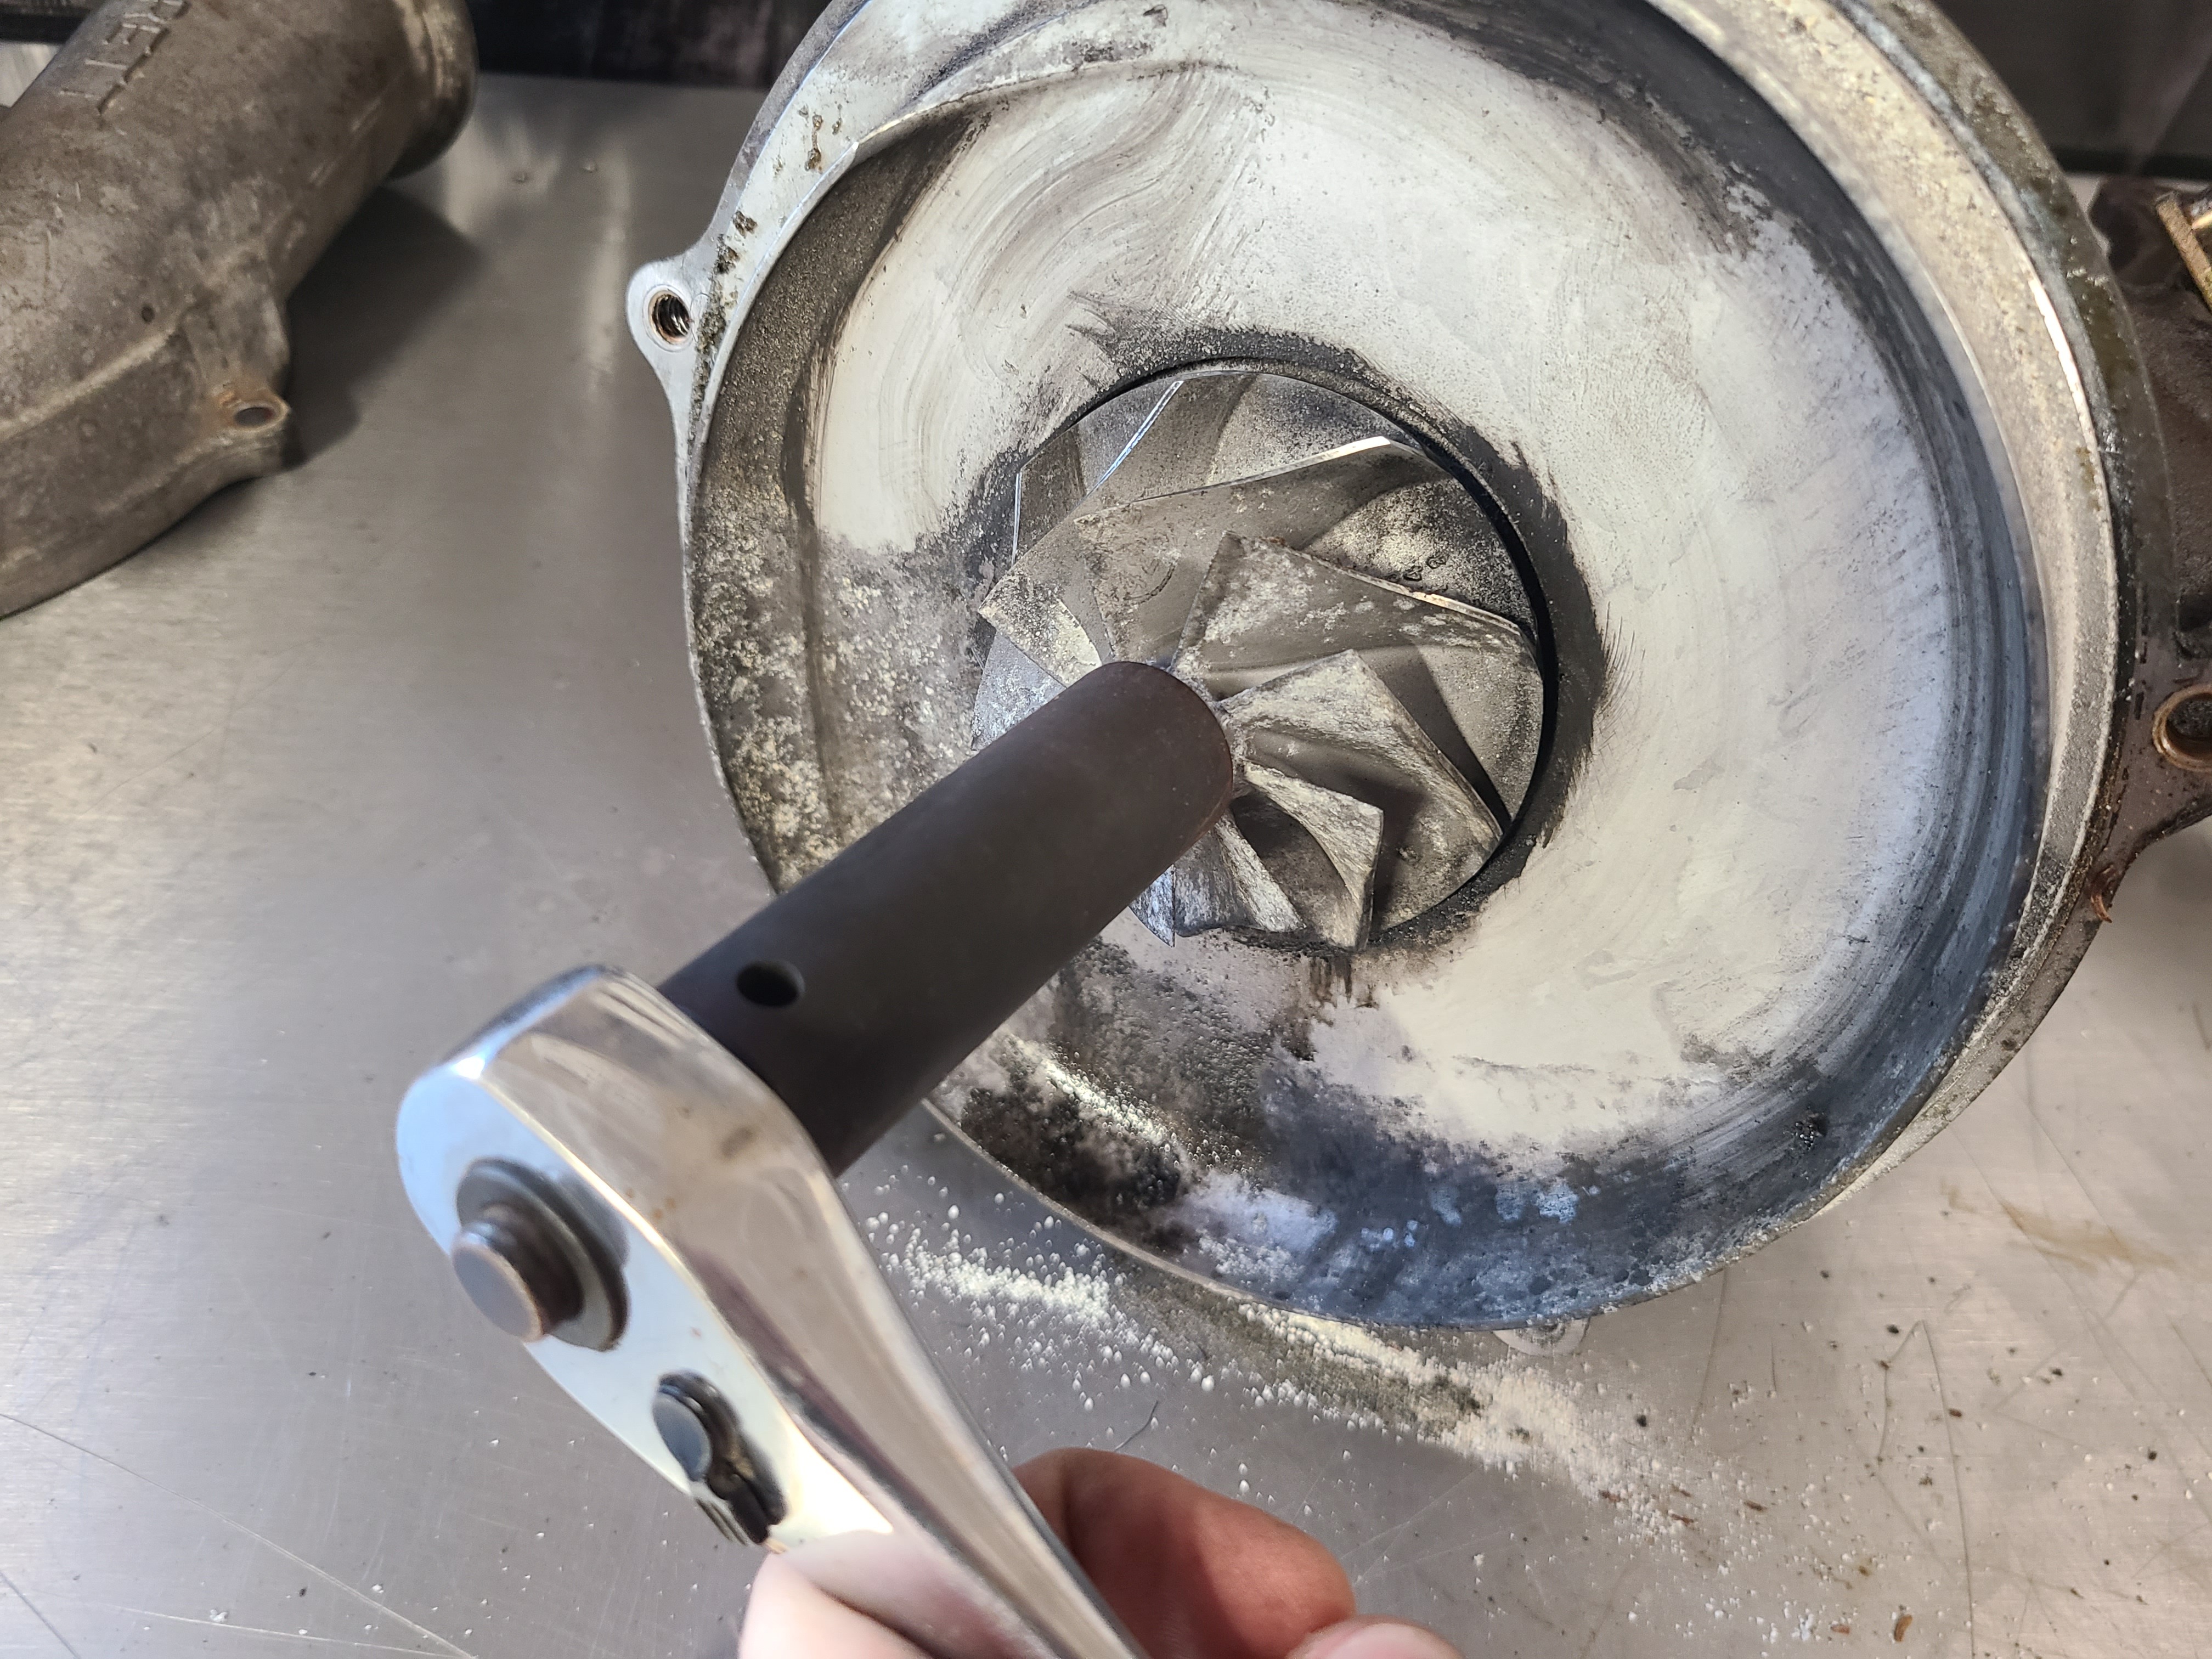
7. Using locking pliers, grab onto the turbine wheel hub securely to lock the turbo shaft to loosen the compressor wheel.
8. Using a 16mm wrench or socket loosen the compressor wheel by turning counter-clockwise. Remove the wheel from the shaft.
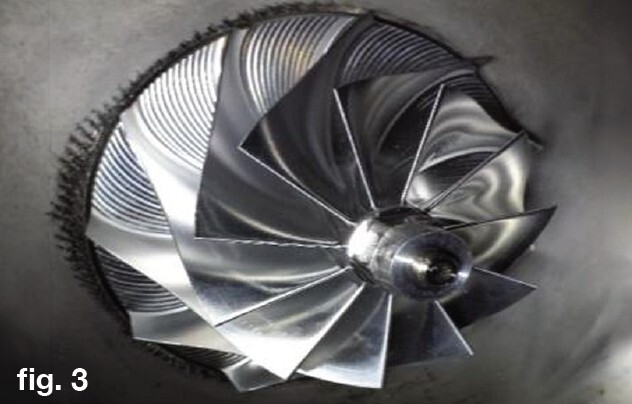
9. Thread the Anti-Surge Compressor wheel onto the shaft. Tighten it down to 50-65 in-lb. CAUTION: DO NOT OVER TIGHTEN THE COMPRESSOR WHEEL ONTO THE SHAFT!
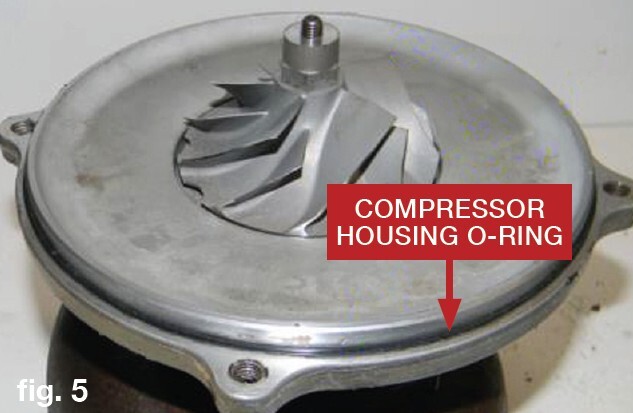
10. Reinstall the compressor housing. Use a new compressor housing o-ring (GZ-14-010).
11. Install the five (5) bolts and tighten evenly in a star pattern to 12 ft-lb.
12. Install the EBPV onto the turbine housing and install the seven (7) bolts. Tighten to 30 ft-lb. We recommend high strength Loctite® thread locker on the bolts.
13. Reinstall the turbo using the instructions mentioned in Step 1.


